

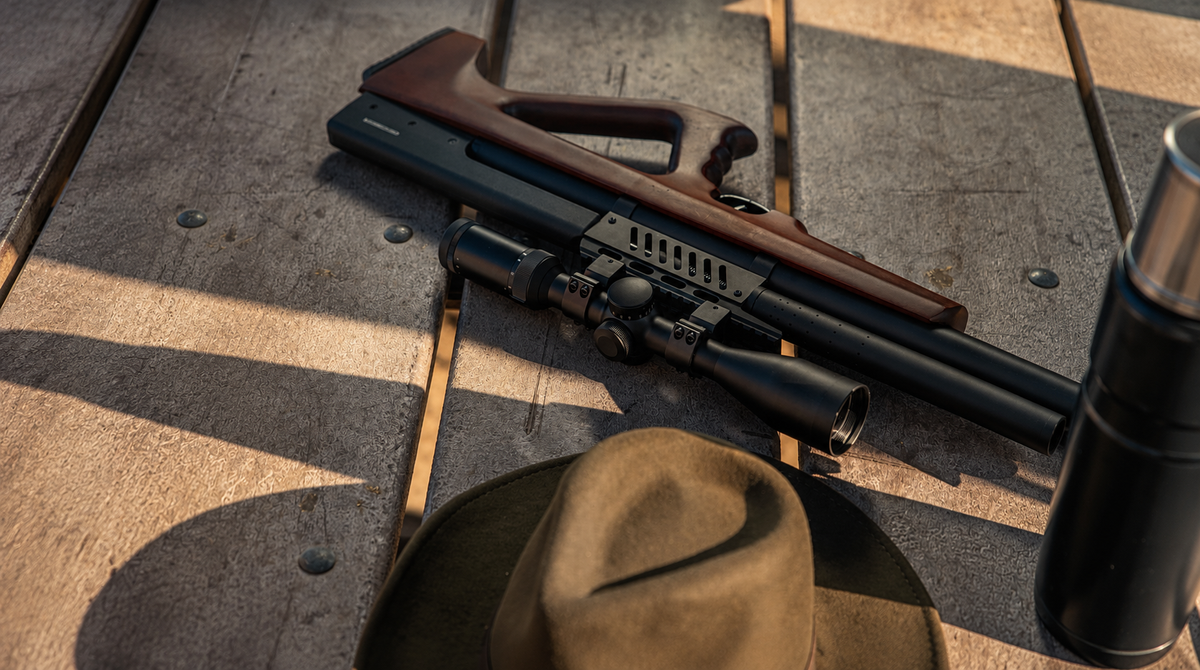
First Time Using a Rifle Scope? Here's How to Get a Clear Sight Picture
Shooting sports and optics use require careful attention to safety. Always treat every firearm or airgun as if it is loaded, follow the manufacturer's instructions, and perform any sight checks or adjustments in a safe, appropriate setting and in accordance with applicable laws.
If you're using a rifle scope for the first time, one of the first surprises can be how difficult it is to get a clear, comfortable view.
You may be able to see the target, but the center doesn't look quite right. The reticle may look sharp while the target looks blurry. You might move your head slightly and suddenly see a dark edge—or lose the image altogether.
That can be frustrating, especially when you aren't sure whether you're looking at a problem with the scope, your setup, or simply getting used to looking through an optic.
The good news is that you don't need to start changing every setting you can find. There are a few basic things worth checking first.

Start With the View, Not the Adjustments
When a new scope doesn't look right, the first instinct is often to adjust something. That's not always the best place to start.
Before changing focus, magnification, or other settings on your rifle scope, pay attention to what you actually see through the optic:
- Is the entire image visible?
- Is there a dark ring around the outside?
- Does the image disappear when you move your head slightly?
- Is the reticle sharp but the target soft?
- Or does everything look generally uncomfortable and difficult to find?
These symptoms can point to different issues. Taking a moment to separate them can save you from changing several things at once without knowing what you're trying to fix.
The First Thing to Check: Where Is Your Eye?
One of the most common reasons a new user struggles to see through a scope is simply eye position.
If your eye is too close, too far away, or not positioned correctly behind the eyepiece, you may see only part of the image. You might notice a black ring, dark crescent, or an image that seems to disappear when you move your head.
This is where eye relief matters. Eye relief is the distance between your eye and the eyepiece at which the scope provides its intended field of view. Understanding scope anatomy can help you locate these components easily.
If the answer is no, don't immediately start turning adjustment knobs. First, settle into a comfortable viewing position and check the eye-relief requirements for your particular scope. The goal is a view that is easy to find, rather than a tiny window you have to chase with your head.
If the Reticle Is Hard to Find
Sometimes the problem isn't that the reticle is blurry. You simply can't seem to find it consistently.
One attempt looks fine. The next time you raise your head, part of the image is missing. You move slightly to one side, and suddenly the reticle appears. This can happen when your head position changes from one attempt to another.
Rather than trying to force your eye into the perfect position, pay attention to how naturally your face comes to the scope. For beginners, it can help to practice the same basic movement:
You're not trying to perfect everything at once. You're simply learning where the optic is in relation to your face. After repeating the movement, finding the viewing window may start to feel much more natural.

What If the Reticle Is Sharp but the Target Is Blurry?
This is another point that can confuse first-time scope users. You may look through the optic and see a perfectly defined crosshair while the object you're looking at appears soft.
That doesn't necessarily mean something is wrong with the reticle. Reticle clarity and target focus are not always the same thing. Depending on whether you are using traditional scopes or close-range red dot sights, different optical adjustments affect how target image clarity is achieved.
If the Reticle Looks Blurry
If the reticle itself isn't sharp, check whether your scope has an adjustable ocular or diopter. Follow the adjustment procedure provided by the manufacturer rather than copying a setting from another scope.
If the Reticle Is Clear but the Target Isn't
If the reticle looks sharp but the target remains out of focus, target focus and parallax may be relevant. Some scopes have a parallax adjustment knob, while others handle it differently.
If the Image Looks Dark or Incomplete
If the entire image isn't visible, go back to the basics first. Check your eye position and eye relief before changing other settings. A dark edge is often a positioning problem, not an optical failure.
Don't Ignore Eye Strain
There's another situation that can make beginners think their scope is changing when it may actually be their eyes getting tired.
You look through the scope and everything seems reasonably clear. A few minutes later, the image feels less sharp. If you're squinting, holding an uncomfortable head position, or staring continuously through the optic, your eyes can become tired.
When that happens, don't try to force the image back into focus. Look away for a moment and take a short break. Shorter practice sessions with proper mounting accessories and comfortable cheek rests can significantly reduce neck and eye fatigue.

A More Useful Way to Troubleshoot a New Scope
Instead of treating every viewing problem as the same problem, work through the possibilities in roughly this order:
Check your eye position
Are you too close or too far from the eyepiece? Check the manufacturer's recommended eye relief and see whether you can obtain the full field of view.
Make sure you can see the whole image
If you see a black ring, dark crescent, or only part of the image, look at your head and eye position before changing other settings.
Separate reticle clarity from target clarity
Ask yourself which part is actually blurry. Is the reticle blurry? Or is the reticle sharp while the target is soft? That distinction matters because the two problems involve different adjustments.
Check the scope's optical adjustments
If the reticle is unclear, look at the manufacturer's instructions for the ocular or diopter adjustment. If target focus is off, check for target focus or parallax adjustments.
Give your eyes a break
If the image becomes less comfortable after looking through the scope for a while, stop for a moment instead of continuing to squint or strain.
Check simple physical factors
Make sure the lenses are clean and that any protective film or covering has been removed. Simple physical issues are easily overlooked.
Consult the product manual
If basic viewing checks don't resolve the issue, consult your optic's manual. Different scope models have specific adjustment ranges and optical mechanisms.
Your Head Position Matters More Than You Might Expect
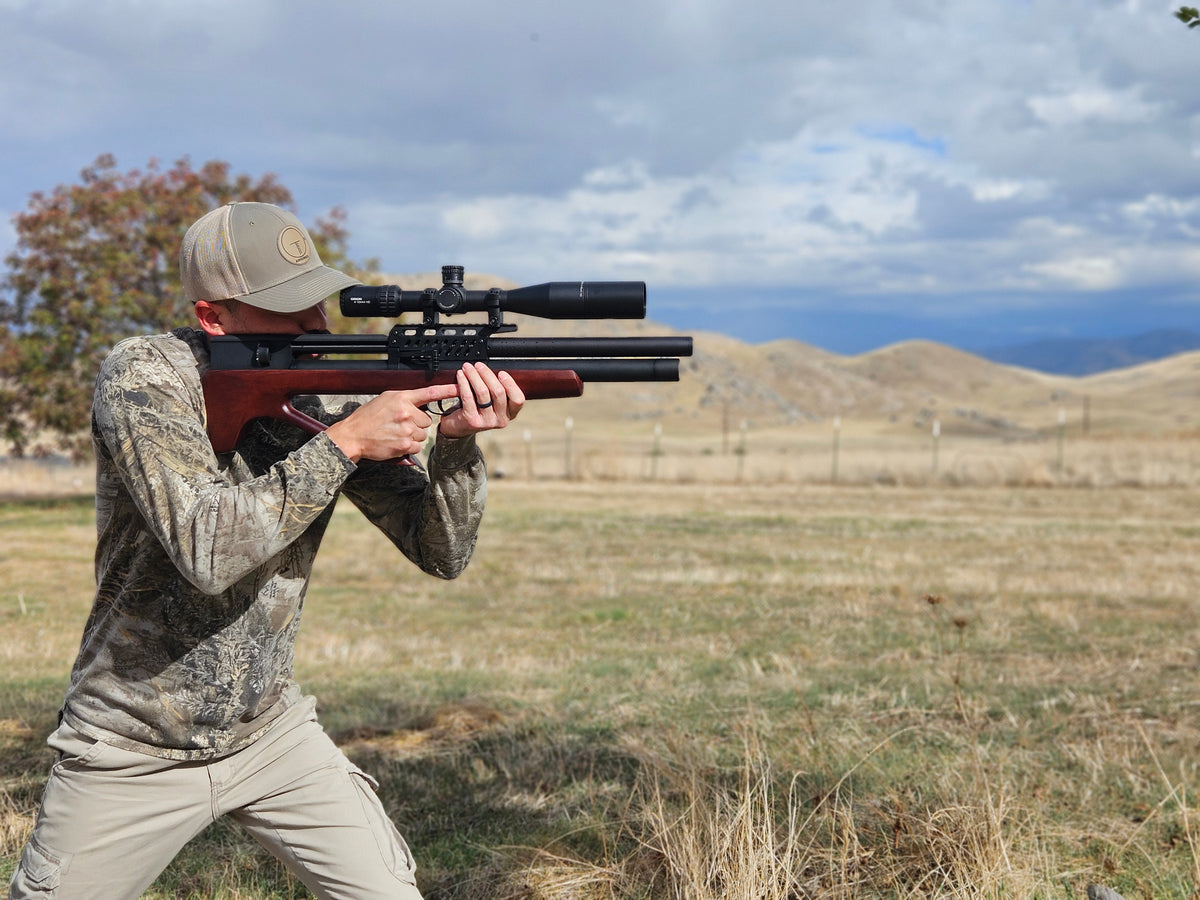
A scope can feel strange at first because you're learning where your eye needs to be in relation to the optic. You don't need to find one magical angle where everything suddenly becomes perfect. What you want is a natural and repeatable head position.
If you have to stretch your neck, move sideways, or lower your head dramatically every time, rethink your cheek weld. Approach the optic naturally—think of it as learning where the scope is, not forcing your head to fit it.
Seeing the Target Clearly Doesn't Mean the Scope Is Properly Adjusted
There's one other distinction that beginners should understand. A clear image doesn't automatically tell you whether the optic has been properly installed, aligned, or zeroed.
You can have a sharp, comfortable view and still need to verify the scope setup according to the manufacturer's instructions. Keep these two questions separate:
- Can I see clearly?
- Is the optic properly set up and aligned?

One Beginner Habit Worth Changing
When people first use a scope, they often focus on whether they're "aiming correctly" before they've learned how to find a comfortable sight picture. Try paying attention to this self-check list instead:
- Can you naturally find the full image?
- Are you seeing a black ring or dark edges?
- Is the reticle sharp and crisp?
- Is the target sharp, or is only the reticle sharp?
- Does your head come to roughly the same position each time?
- Are you squinting or straining to see?
- Have you checked the scope's settings using the manufacturer's instructions?
If Your Scope Still Doesn't Look Right
If you've checked your eye position, eye relief, reticle clarity, optical settings, and lens condition but the view still looks abnormal, stop guessing. Review the model-specific troubleshooting guide or contact support for direct assistance.
Quick Clear Sight Picture Workflow
The first time you use a rifle scope, getting a clear sight picture takes practice. Avoid turning adjustment knobs prematurely.
Follow the basic workflow:
Eye Position → Eye Relief → Full Field of View → Reticle Clarity → Target Focus/Parallax → Lens Condition → Product Manual
The ultimate goal is a clear, comfortable, and repeatable view every time you raise your rifle.



Share:
The Airgun Hunter’s Guide to Squirrels, Part One: The Eastern Gray Squirrel
The Airgun Hunter’s Guide to Squirrels, Part Two: California Ground Squirrels