
Precision shooting is a game of inches and tiny variables. Even a slight tilt of your rifle can cause your bullets to drift off target as the distance increases. This is known as scope cant, and it is a silent accuracy killer for many marksmen.
Using a scope bubble level ensures your reticle is perfectly vertical when you break the shot. It removes the guesswork from your holdover and keeps your windage adjustments true. Let's look at how this simple tool can change your results.

Tools and Setup You’ll Need to Mount a Bubble Level on a Scope
Mounting a scope bubble level requires a few specific items to ensure the job is done right. You'll need a stable work surface and a way to hold your rifle securely during the process.
- A gun vise: A dedicated gun vise or a set of sturdy sandbags is the best way to keep the firearm from tilting while you work.
- Torque Wrench: A small inch-pound wrench ensures you do not crush the scope tube by over-tightening.
- Plumb Line: Hanging a weighted string at a distance gives you a perfect vertical reference for your reticle.
- Cleaning Cloth: Wipe down the scope tube before attaching anything to prevent scratches or slipping.
- Small Levels: You'll also need a set of small levels designed specifically for firearms. Many shooters use a combination of a flat level for the action and a second one for the scope turret.
If you are using a Nightforce scope bubble level, make sure you have the correct Allen keys for the specific mounting screws.
Before You Start: Leveling the Rifle First
The most critical step is ensuring the rifle itself is perfectly level before you ever touch the scope. If the action is tilted, even a perfectly mounted scope bubble level will give you a false reading. You must find a flat spot on the receiver or the scope rail to place your first reference level.
Slowly adjust your gun vise until the bubble sits exactly in the center of the lines. This creates a true horizontal plane for the rest of your adjustments. Many precision shooters use scope rings with a bubble level built directly into the cap to simplify this alignment.
- Receiver Level: Place this on the bolt race or the top of the rail.
- Vise Tension: Make sure the rifle cannot move once you find the center.
- Secondary Check: Double-check the level after tightening the vise to ensure nothing shifted.
Once the rifle is locked in, you have a solid foundation for the next steps. Any movement now will ruin the final results of your work.

Step-by-step: How to Mount a Bubble Level on a Rifle Scope
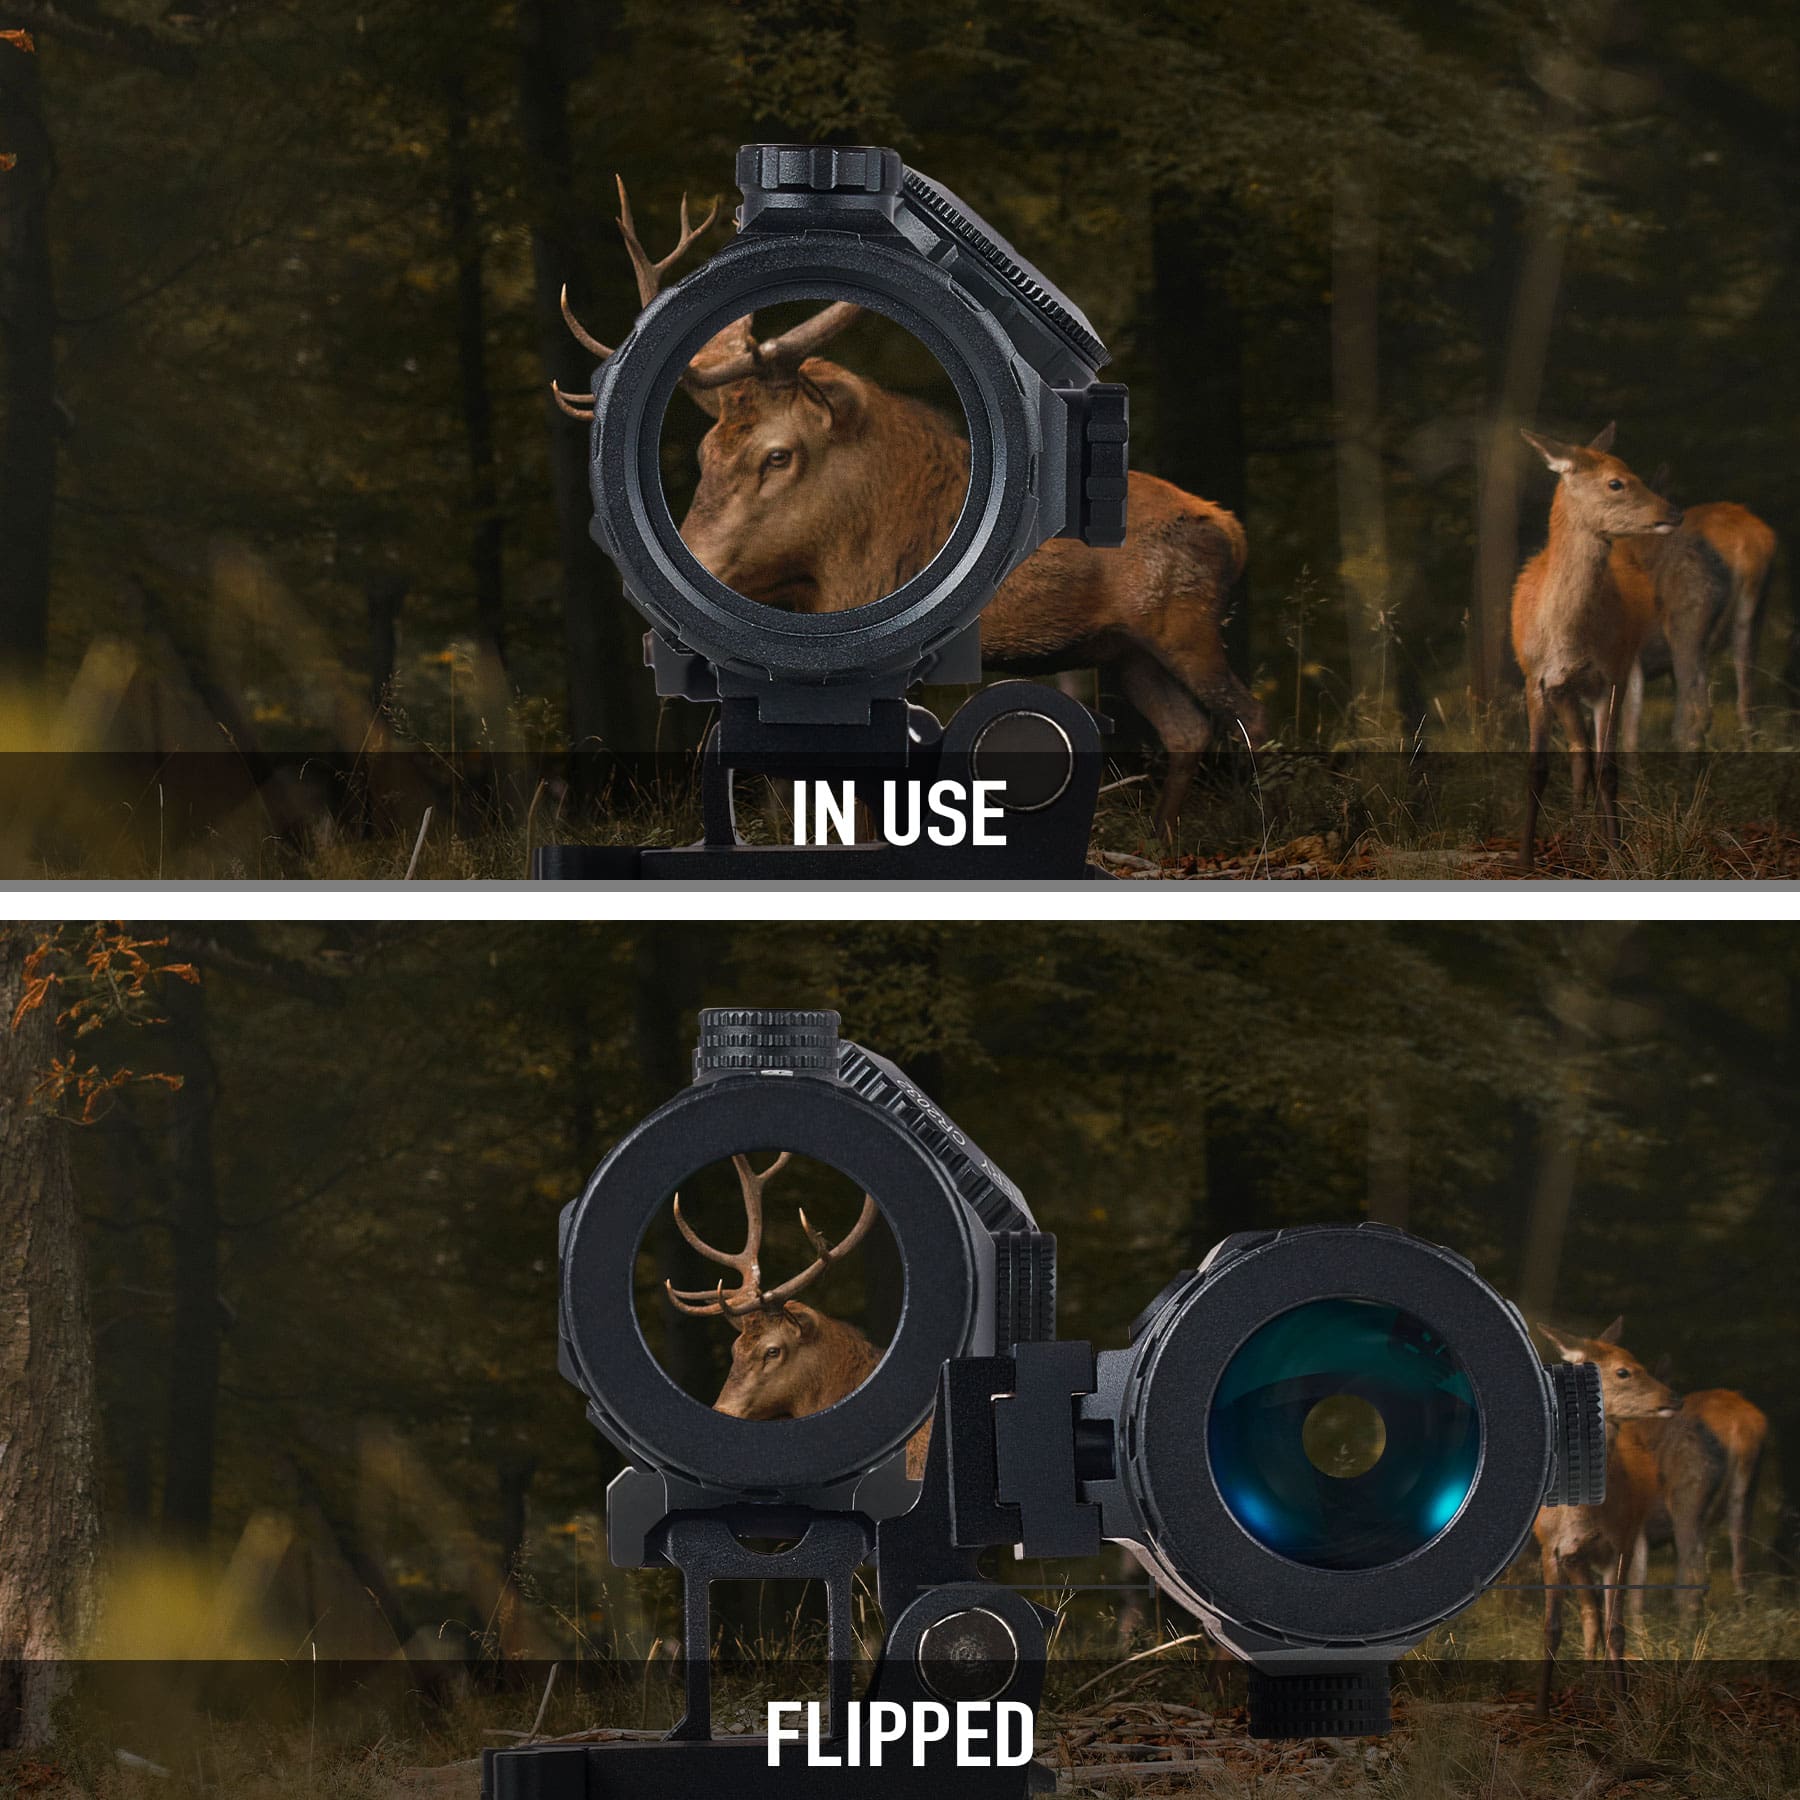
Now that the rifle is locked in a level position, you can attach the leveling device to the optic. Position the ring or clamp around the scope tube in a spot where you can easily see it while behind the rifle. Most shooters prefer to mount the level on the left side to keep their dominant eye on the target.
Gently tighten the screws just enough to hold the level in place but allow for small rotations. Check your plumb line at a distance and align the vertical hair of your reticle with the hanging string. This ensures that the internal components are perfectly upright in relation to the ground.
- Final Rotation: Rotate the level until its bubble matches the reference level on your rifle's receiver.
- Screw Pattern: Tighten the mounting screws in a cross pattern to prevent the level from canting as it cinches down.
- Eye Box Check: Ensure the level does not block your view of the turrets or snag on your clothing.
Learning how to mount a bubble level on a rifle scope takes patience and a steady hand. Once the bubble stays centered while the reticle is on the plumb line, you can torque the screws to the manufacturer's spec.

How to Check If Your Bubble Level Is Accurate
After you finish the installation, you must verify that the level matches the vertical axis of your reticle. Take the following steps to ensure your bubble level is accurate:
- Hang a plumb line at fifty yards and align your crosshairs perfectly with the string while the rifle is in a rest.
- Check the vial to ensure the bubble is dead center when the reticle is perfectly vertical.
- Always check your screws after a few rounds to ensure the level hasn't shifted on the scope tube. A quick visual confirmation before every long shot will help you maintain your consistency.
Does the Quality of Your Bubble Level Matter?
Having a good quality bubble level is essential. Even if your mounting process is perfect, a poor bubble level will ruin your results. If you want a reliable and streamlined setup, go for a good quality scope level, made from durable material and properly designed to stay out of the way.
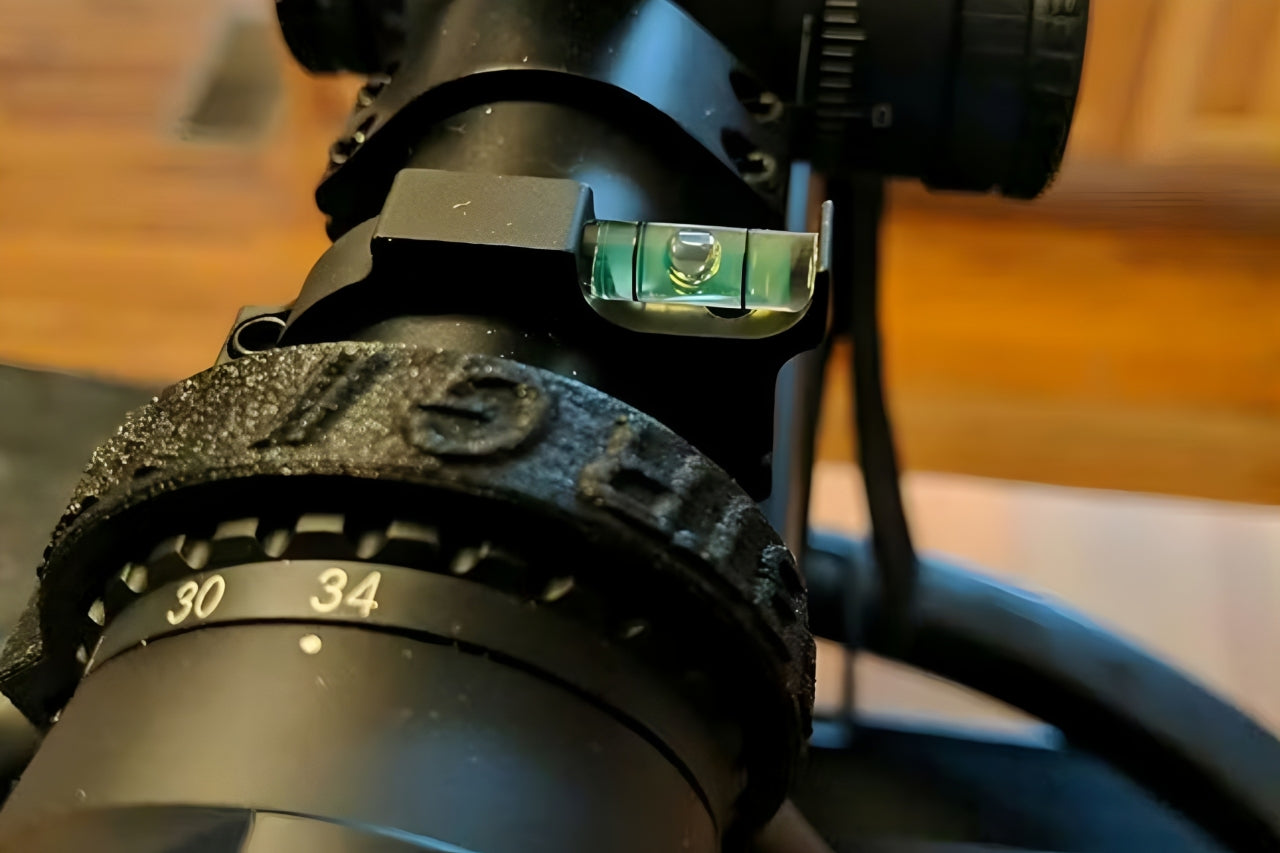
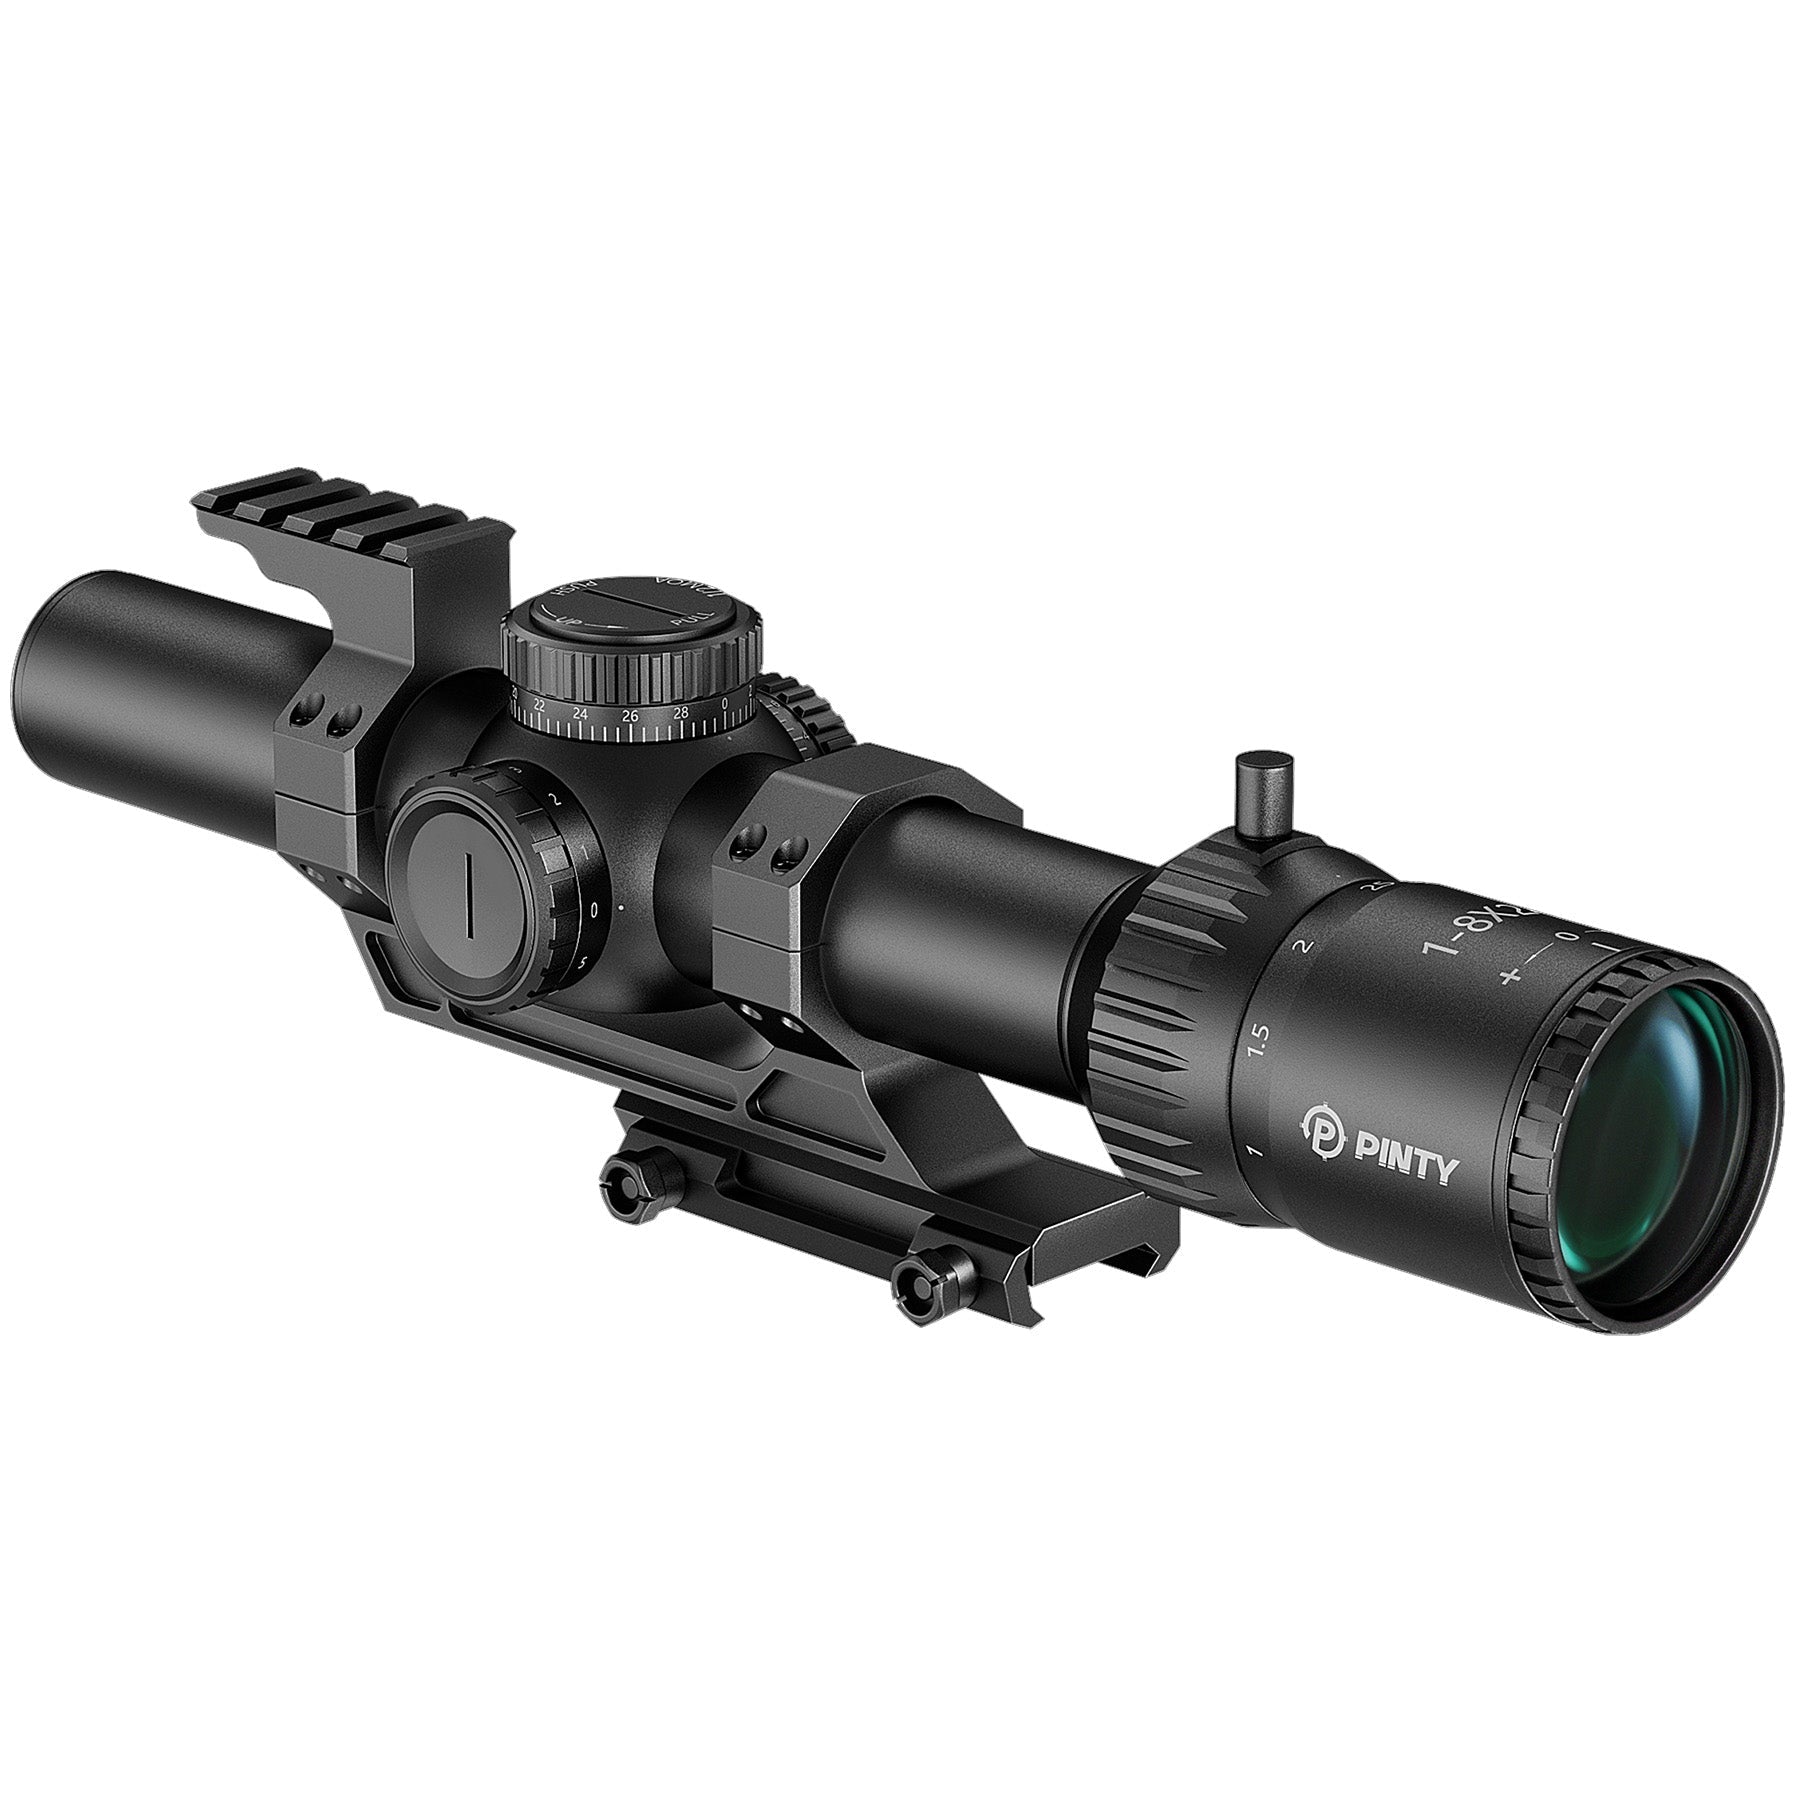
Pinty's Tactical Scope Level is an excellent choice. This specific bubble level for scope mounting is crafted from durable aircraft-grade aluminum to withstand heavy recoil, and it features a split-ring design that allows for easy installation without having to remove your scope from its rings.
It also has a low-profile design that stays out of your field of view while providing a clear, high-visibility green liquid vial and a universal fit for standard one-inch or thirty-millimeter scope tubes. The bright green bubble is easy to see even in low-light hunting conditions.

Conclusion: Do You Really Need a Bubble Level?
A scope bubble level is one of the most cost-effective ways to improve your long-range precision. While it might seem like a small detail, eliminating cant is the only way to ensure your ballistic data remains accurate in the field.
It's a simple tool that provides instant feedback before you pull the trigger. Once you learn how to mount a bubble level on a rifle scope—like the precision Gunnr Heimdall 6-24×50 FFP Rifle Scope—you'll never want to shoot without one. It's the best way to turn a good group into a great one.
You may also be interested in the benefits of choosing a cantilever scope mount and how that can enhance the stability of your setup and effectiveness, especially at long range.


Share:
What Is a PCP Air Rifle? Guide to Power, Accuracy & Benefits
PCP vs. Break Barrel Air Rifles: Which Should You Choose?