

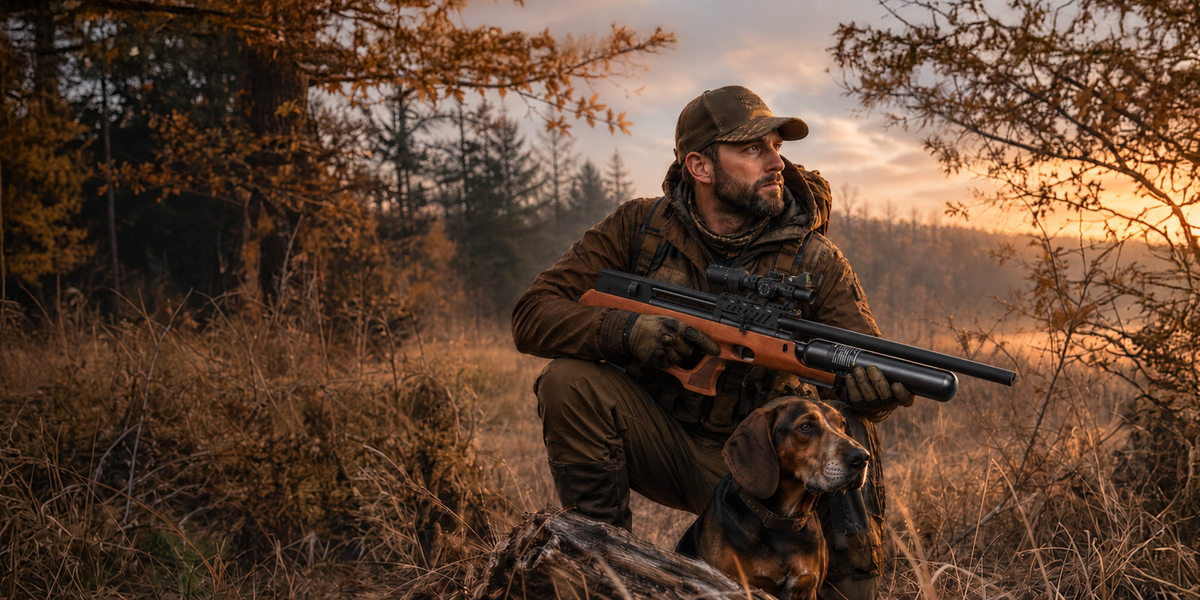
Hunting Scope Checklist: 10 Critical Checks Before Hunting Season
As summer winds down, opening day is rapidly approaching. Months in storage, bumps during transport, moisture, or a shifted mount can compromise your point of impact. Follow this field-tested 10-step inspection guide to ensure your optics perform flawlessly when your trophy shot presents itself.

01. Inspect & Clean Objective and Ocular Lenses
Dirt, fingerprints, or dried water spots degrade edge-to-edge optical clarity and light transmission during critical low-light dawn and dusk hours.
- Inspect: Check both lenses under bright lighting for micro-scratches or dust.
- Clean Safely: Never dry-rub lenses with your sleeve. Blow away loose debris with an air blower first, then apply optics-safe lens cleaner using a microfiber cloth in smooth circular motions.
02. Check Mounts, Rings, and Torque Specs
Recoil vibration and thermal expansion can loosen scope ring screws and Picatinny/Dovetail mounting hardware over time.
Inspect all connection points for visible gaps, alignment shifts, or loose bolts. Re-verify hardware tighteners using a firearm torque wrench according to manufacturer specs.
03. Perform a 360-Degree Scope Housing Inspection
Give the scope chassis a thorough visual check to spot damage from past drops or rough transportation:
- Dents or deep scratches on the main aluminum aircraft tube.
- Cracked housing units or damaged turret caps.
- Perished, missing, or dried-out rubber O-rings around turret seals.

04. Test Reticle Sharpness and Illumination Settings
Point your optic at a plain white wall or clear sky to verify reticle performance:
- Fast-Focus Eyepiece: Adjust the ocular diopter ring until the crosshairs are razor-sharp the moment you look through.
- Illuminated Reticles: Cycle through every brightness level to test for flickering. Inspect the battery housing for corrosion.
05. Verify Eye Relief with Full Hunting Gear
Testing eye relief indoors in a T-shirt often leads to misplaced scopes once thick autumn outerwear is worn.
Shoulder your rifle while wearing your full hunting jacket and layer setup. Close your eyes, shoulder naturally, and open your eyes. You should immediately see a full field of view without dark crescent edges (vignetting).
06. Cycle the Full Magnification Range
Rotate the zoom ring slowly from minimum to maximum magnification (whether on variable rifle scopes or fast LPVO optics). Ensure motion is smooth without grinding or binding.
07. Confirm Live-Fire Zero at the Range
Never rely on last season's zero settings. Temperature differences, ammunition lot variations, and transport vibrations can alter your zero point.
Visit a safe shooting range and fire a 3-to-5 shot group at 100 yards using your exact hunting ammunition to verify your zero point of impact.

08. Audit Small Scope Accessories & Pack Essentials
Small component failures shouldn't ruin a hunt. Verify these key accessories:
- Flip-Up Caps: Test spring hinges to ensure they snap closed securely against rain and brush.
- Field Kit Essentials: Pack a lens pen, microfiber cloth, spare CR2032 batteries, and appropriate Allen/Torx keys in your hunting pack.
09. Rebuild Muscle Memory & Control Familiarity
Spend 10 minutes practicing dry drills at home. Practice operating turret locks, adjusting reticle brightness, and flipping lens caps quietly in low-light environments so controls become second nature in the field.
10. Stick to a Pre-Season Maintenance Timeline
Spacing out your checks prevents last-minute panics and gives you time to address hardware issues or replace gear.

Pre-Season Checklist Timeline
Ready to Upgrade Your Hunting Optics?
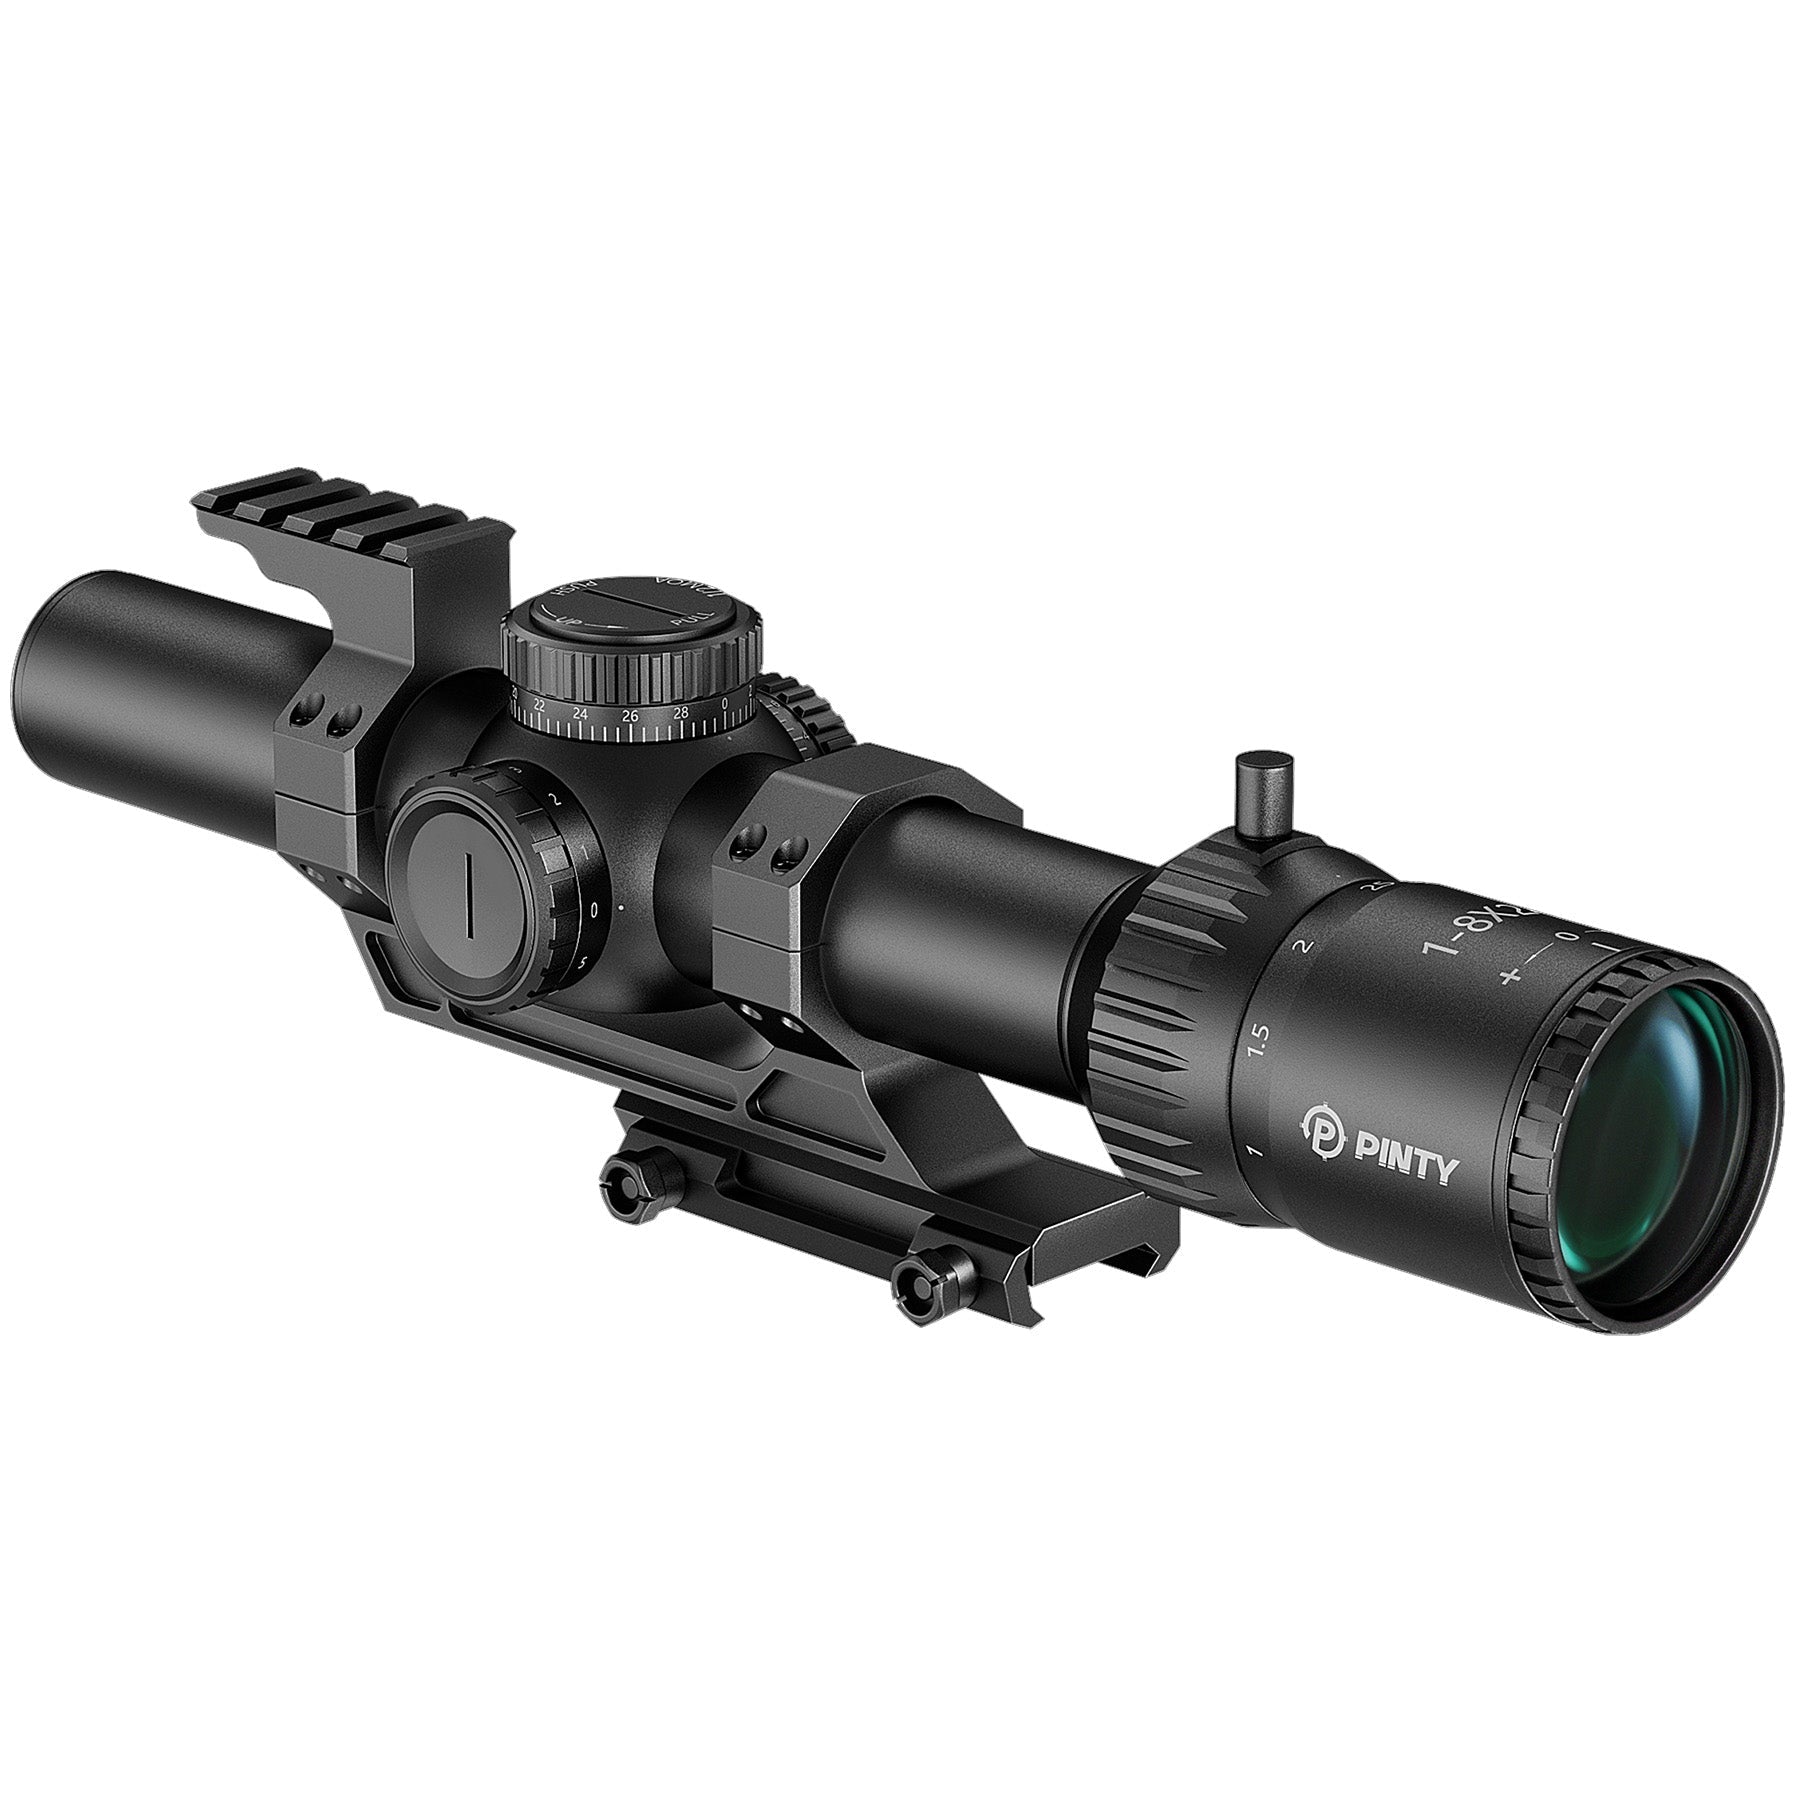
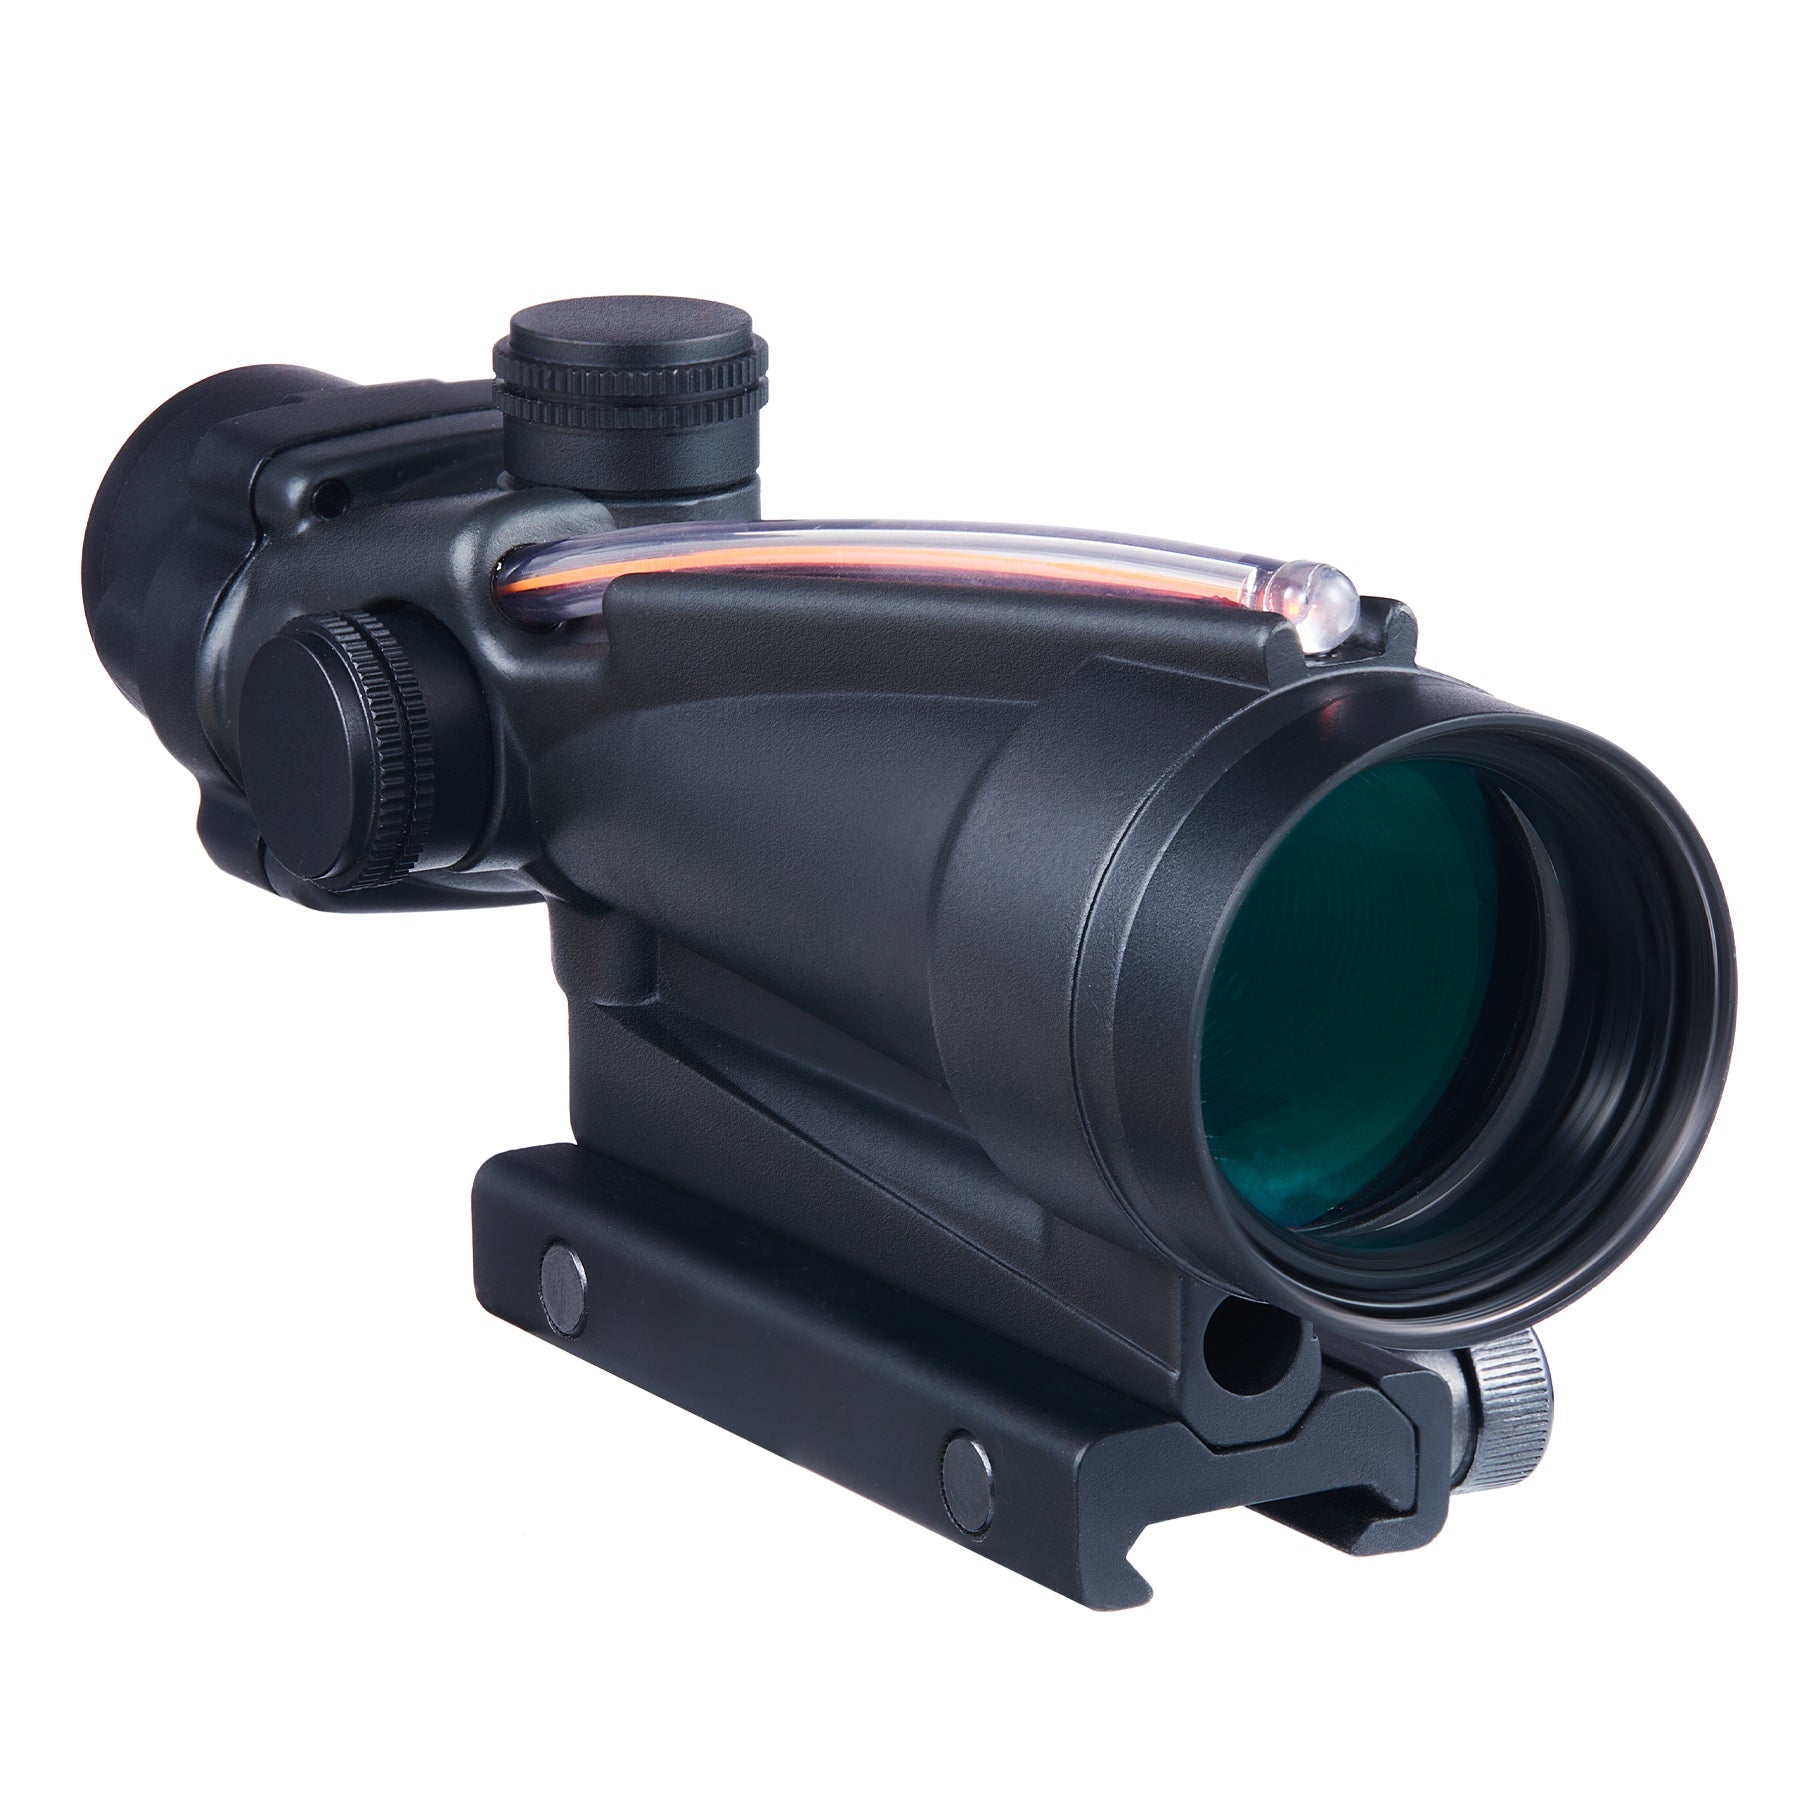
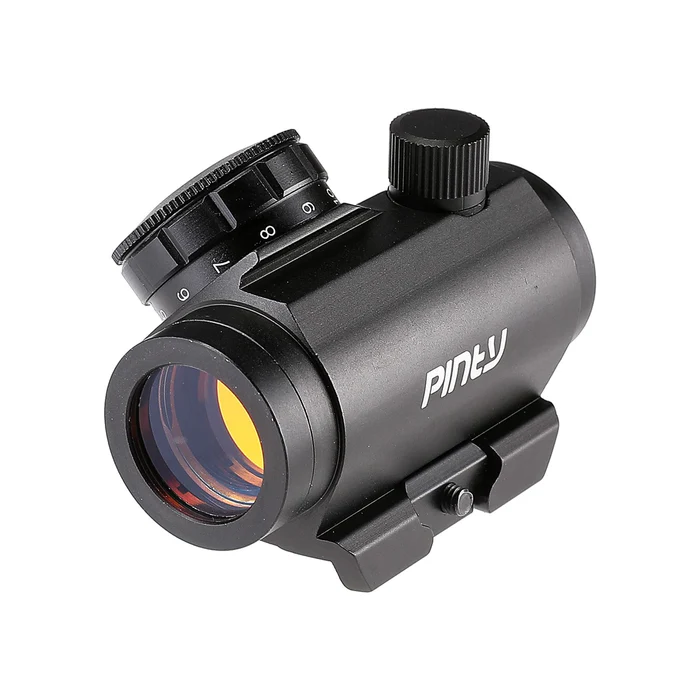
If your pre-season inspection reveals a damaged optic or moisture leaks, explore Pinty’s high-precision rifle scopes, low-power variable optics, and versatile red dot scope combos engineered for rugged field conditions.




Share:
Best Optics for a PCP Air Pistol: How to Choose the Right Scope or Red Dot
First Time Hunting This Fall? 7 Essential Tips for Beginners