


User Guide
How to Choose a Red Dot Sight?
Choosing a red dot sight begins with understanding your firearm and how you plan to use it, since different platforms like pistols, rifles, or shotguns require different levels of durability, size, and mounting compatibility.
A red dot sight replaces traditional iron sight alignment with a single illuminated aiming point, making shooting faster and more intuitive, but selecting the right one depends on several key factors such as optic type (open or enclosed), dot size (MOA), battery life, and build quality.
You should also consider your primary use—whether for self-defense, hunting, competition, or general range shooting—as this will influence the importance of features like field of view, brightness settings, and weather resistance.
Firearm
Choosing the right red dot sight starts with understanding how and where you’ll use it, as the firearm type plays a major role in determining the size, durability, and optical design you need.
Pistol
For pistols, red dot sights must be compact, lightweight, and rugged enough to handle the constant recoil from a reciprocating slide. A low-profile optic improves balance and allows for faster target acquisition, while durable, shock-resistant construction—often with aluminum housings—ensures the sight can maintain zero over time. A wide field of view is also important for quick sight alignment in defensive or competitive situations.
Rifle / AR-15
In contrast, rifles—especially platforms like the AR-15 rifle—benefit from larger rifle optics that emphasize speed and versatility across varying distances. Tube-style optics offer a more traditional sight picture and better environmental protection, while larger window designs enhance target transitions and situational awareness. Features like long battery life, multiple brightness settings, and adjustable mounting heights for co-witnessing with iron sights become more important in these setups.
Optic Type (Emitter Type)
When selecting a red dot sight, one of the most important decisions is the emitter design. This directly affects durability, reliability in harsh conditions, and overall shooting performance.
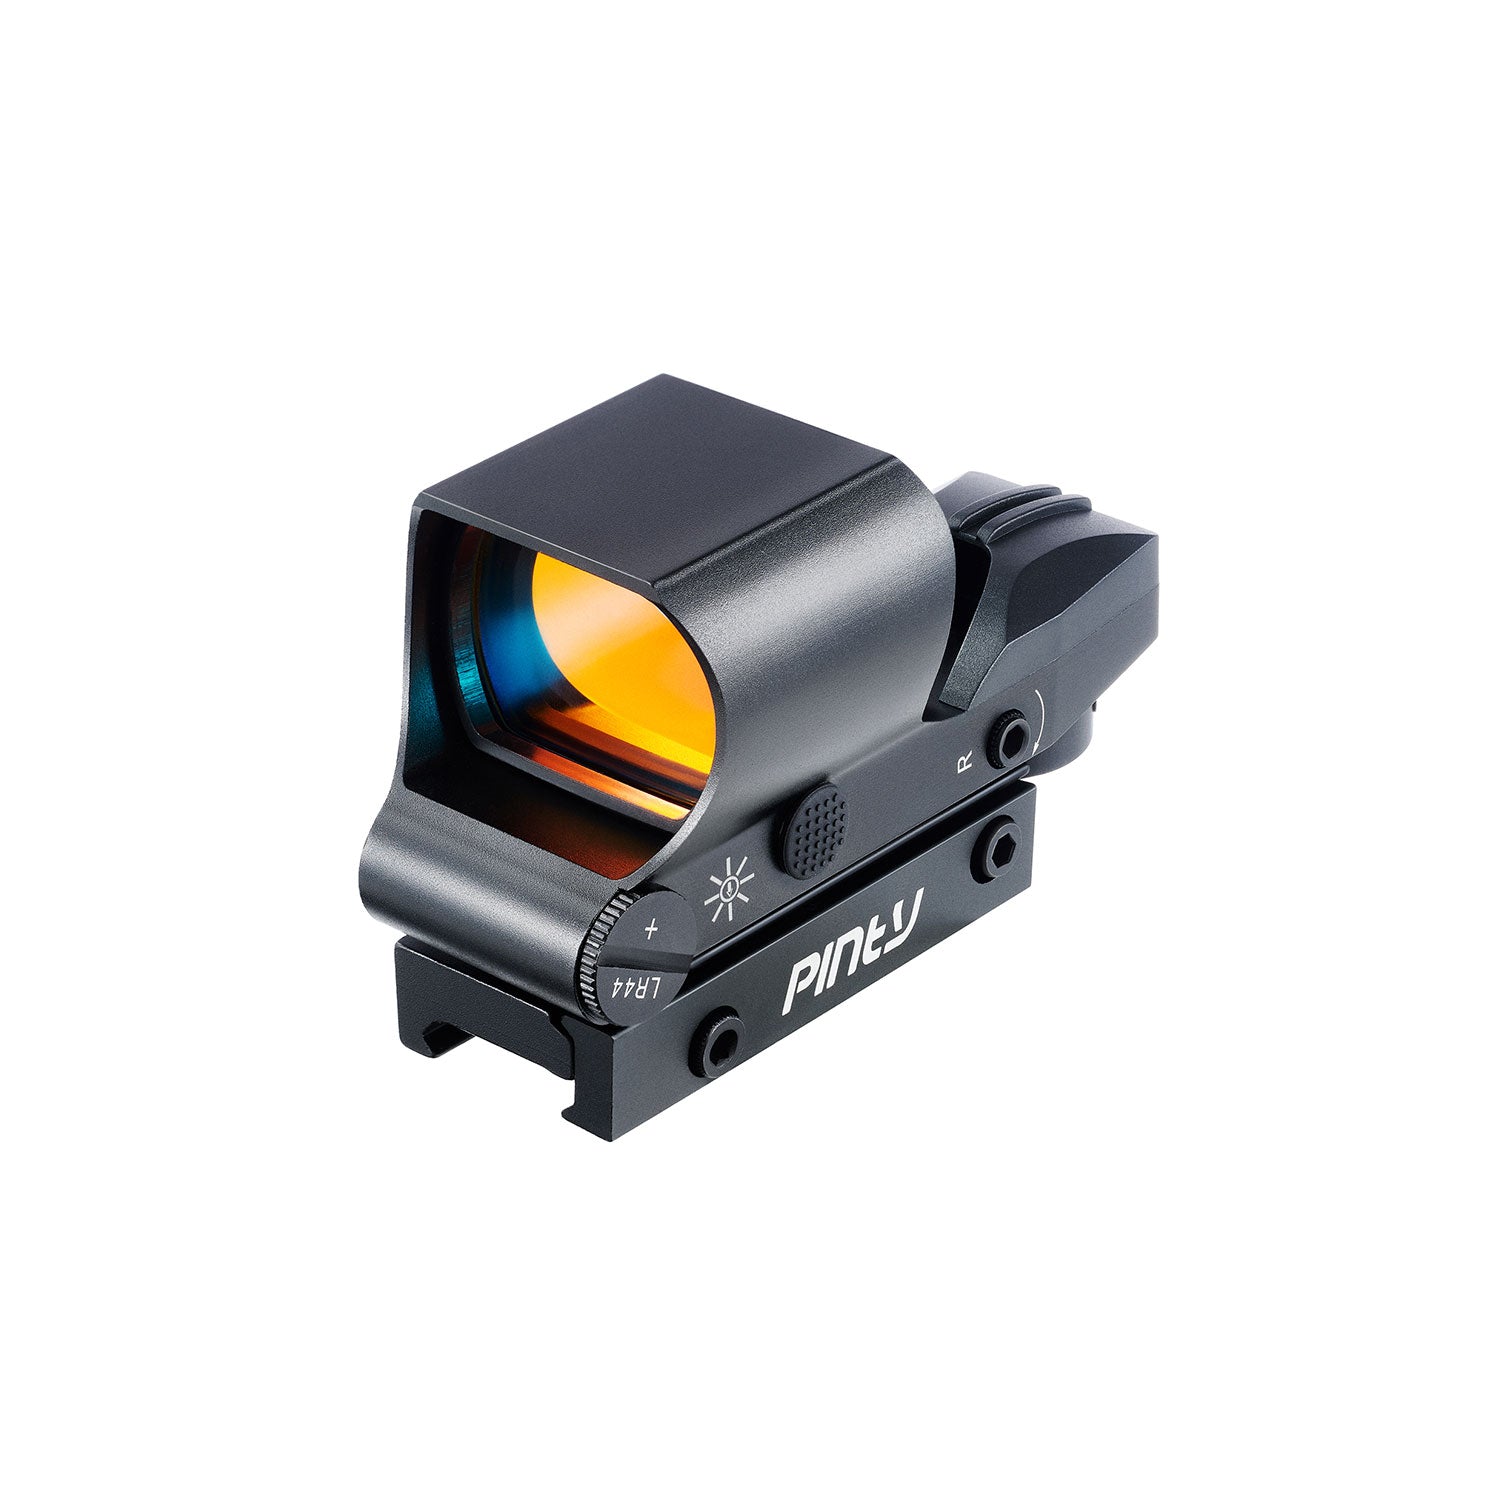
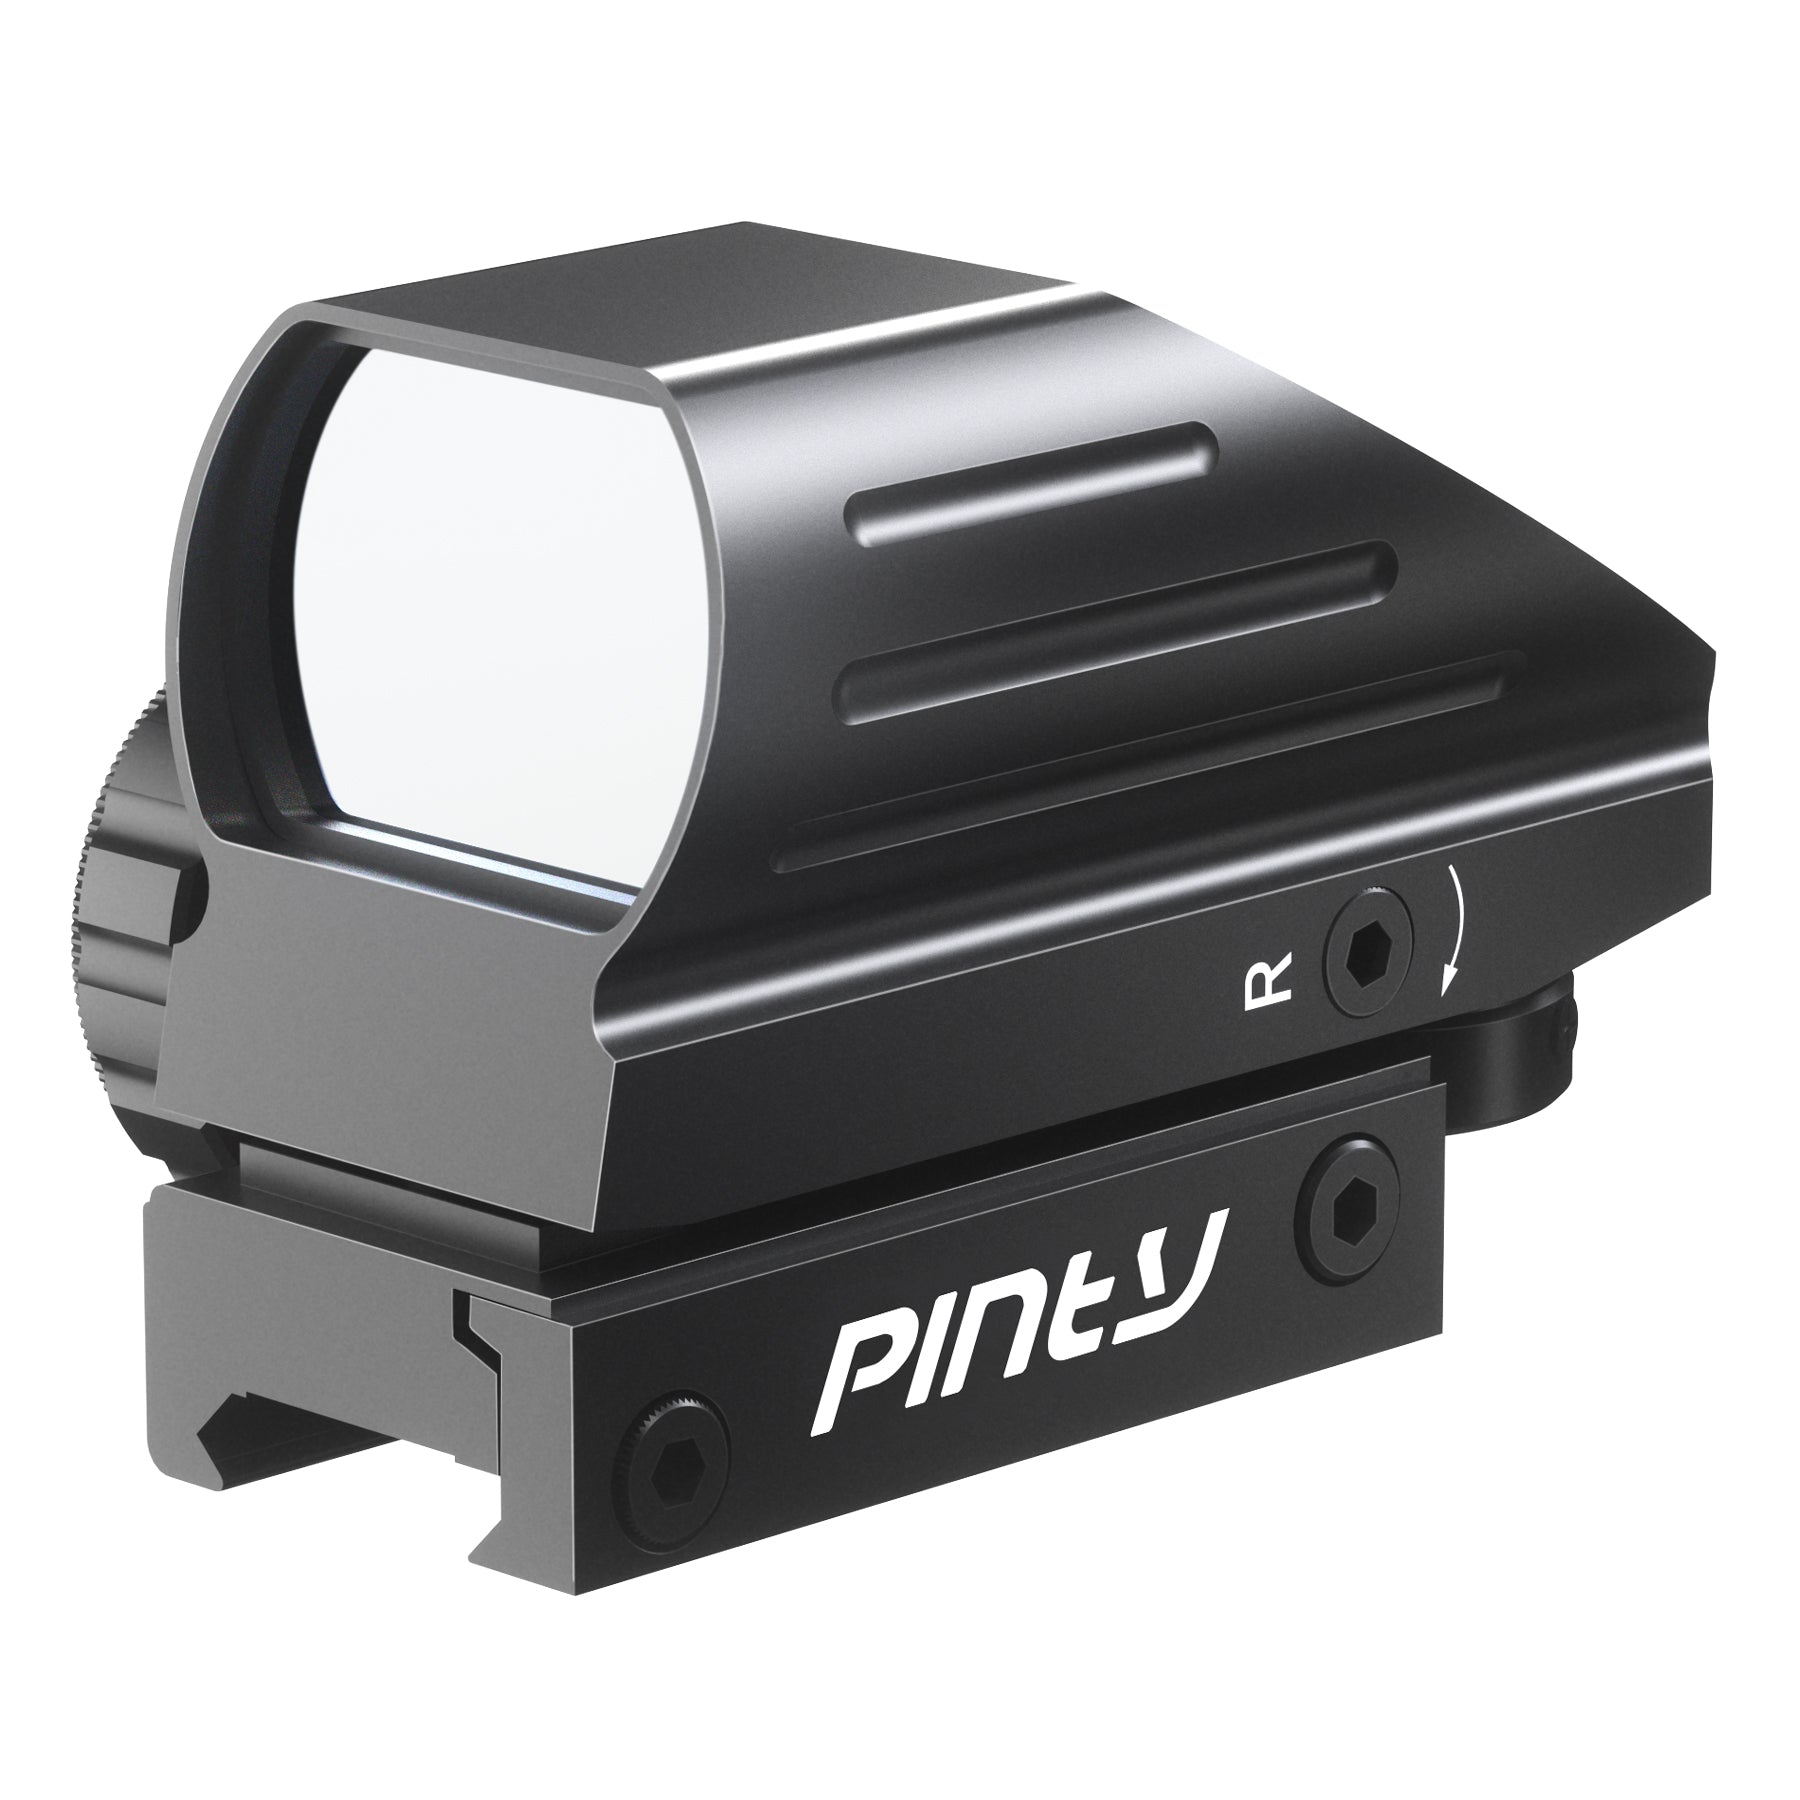
Open reflex sights
When choosing a red dot sight, the emitter design plays a key role in performance and reliability. Open reflex sights are typically smaller and lighter, making them ideal for pistols and fast-paced shooting scenarios. Their open design provides a wider field of view, allowing for quicker target acquisition and better situational awareness. However, because the emitter is exposed, it can be blocked by rain, snow, dust, or debris, which may distort or completely obscure the dot, requiring more frequent cleaning and maintenance.
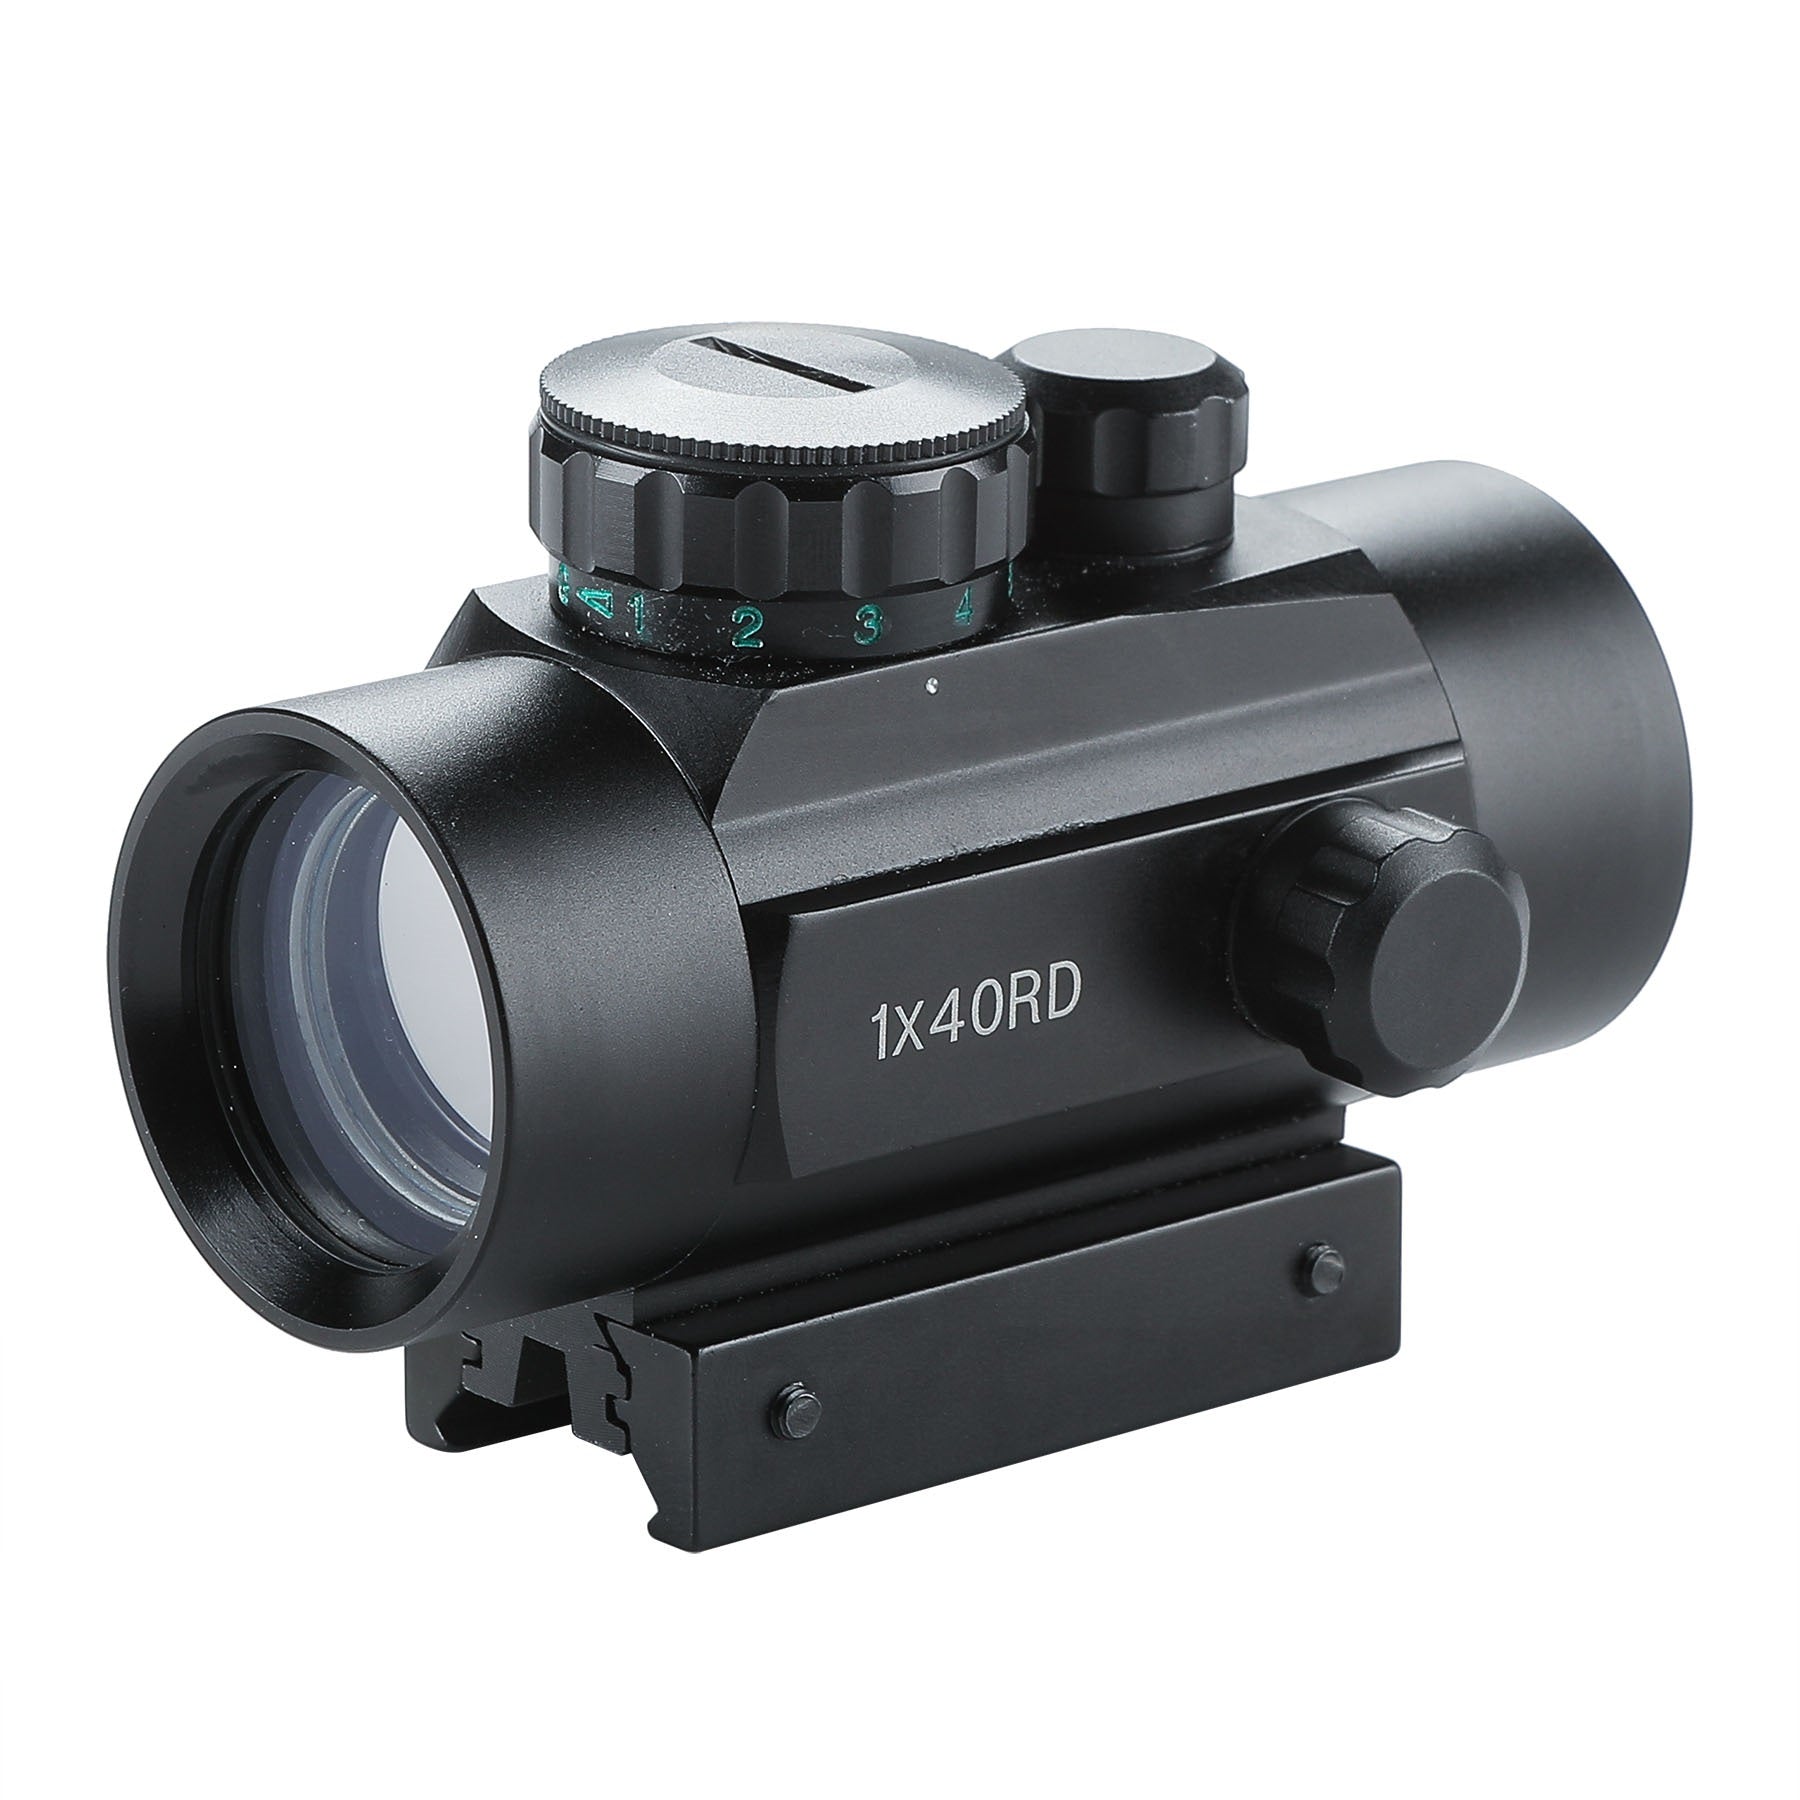
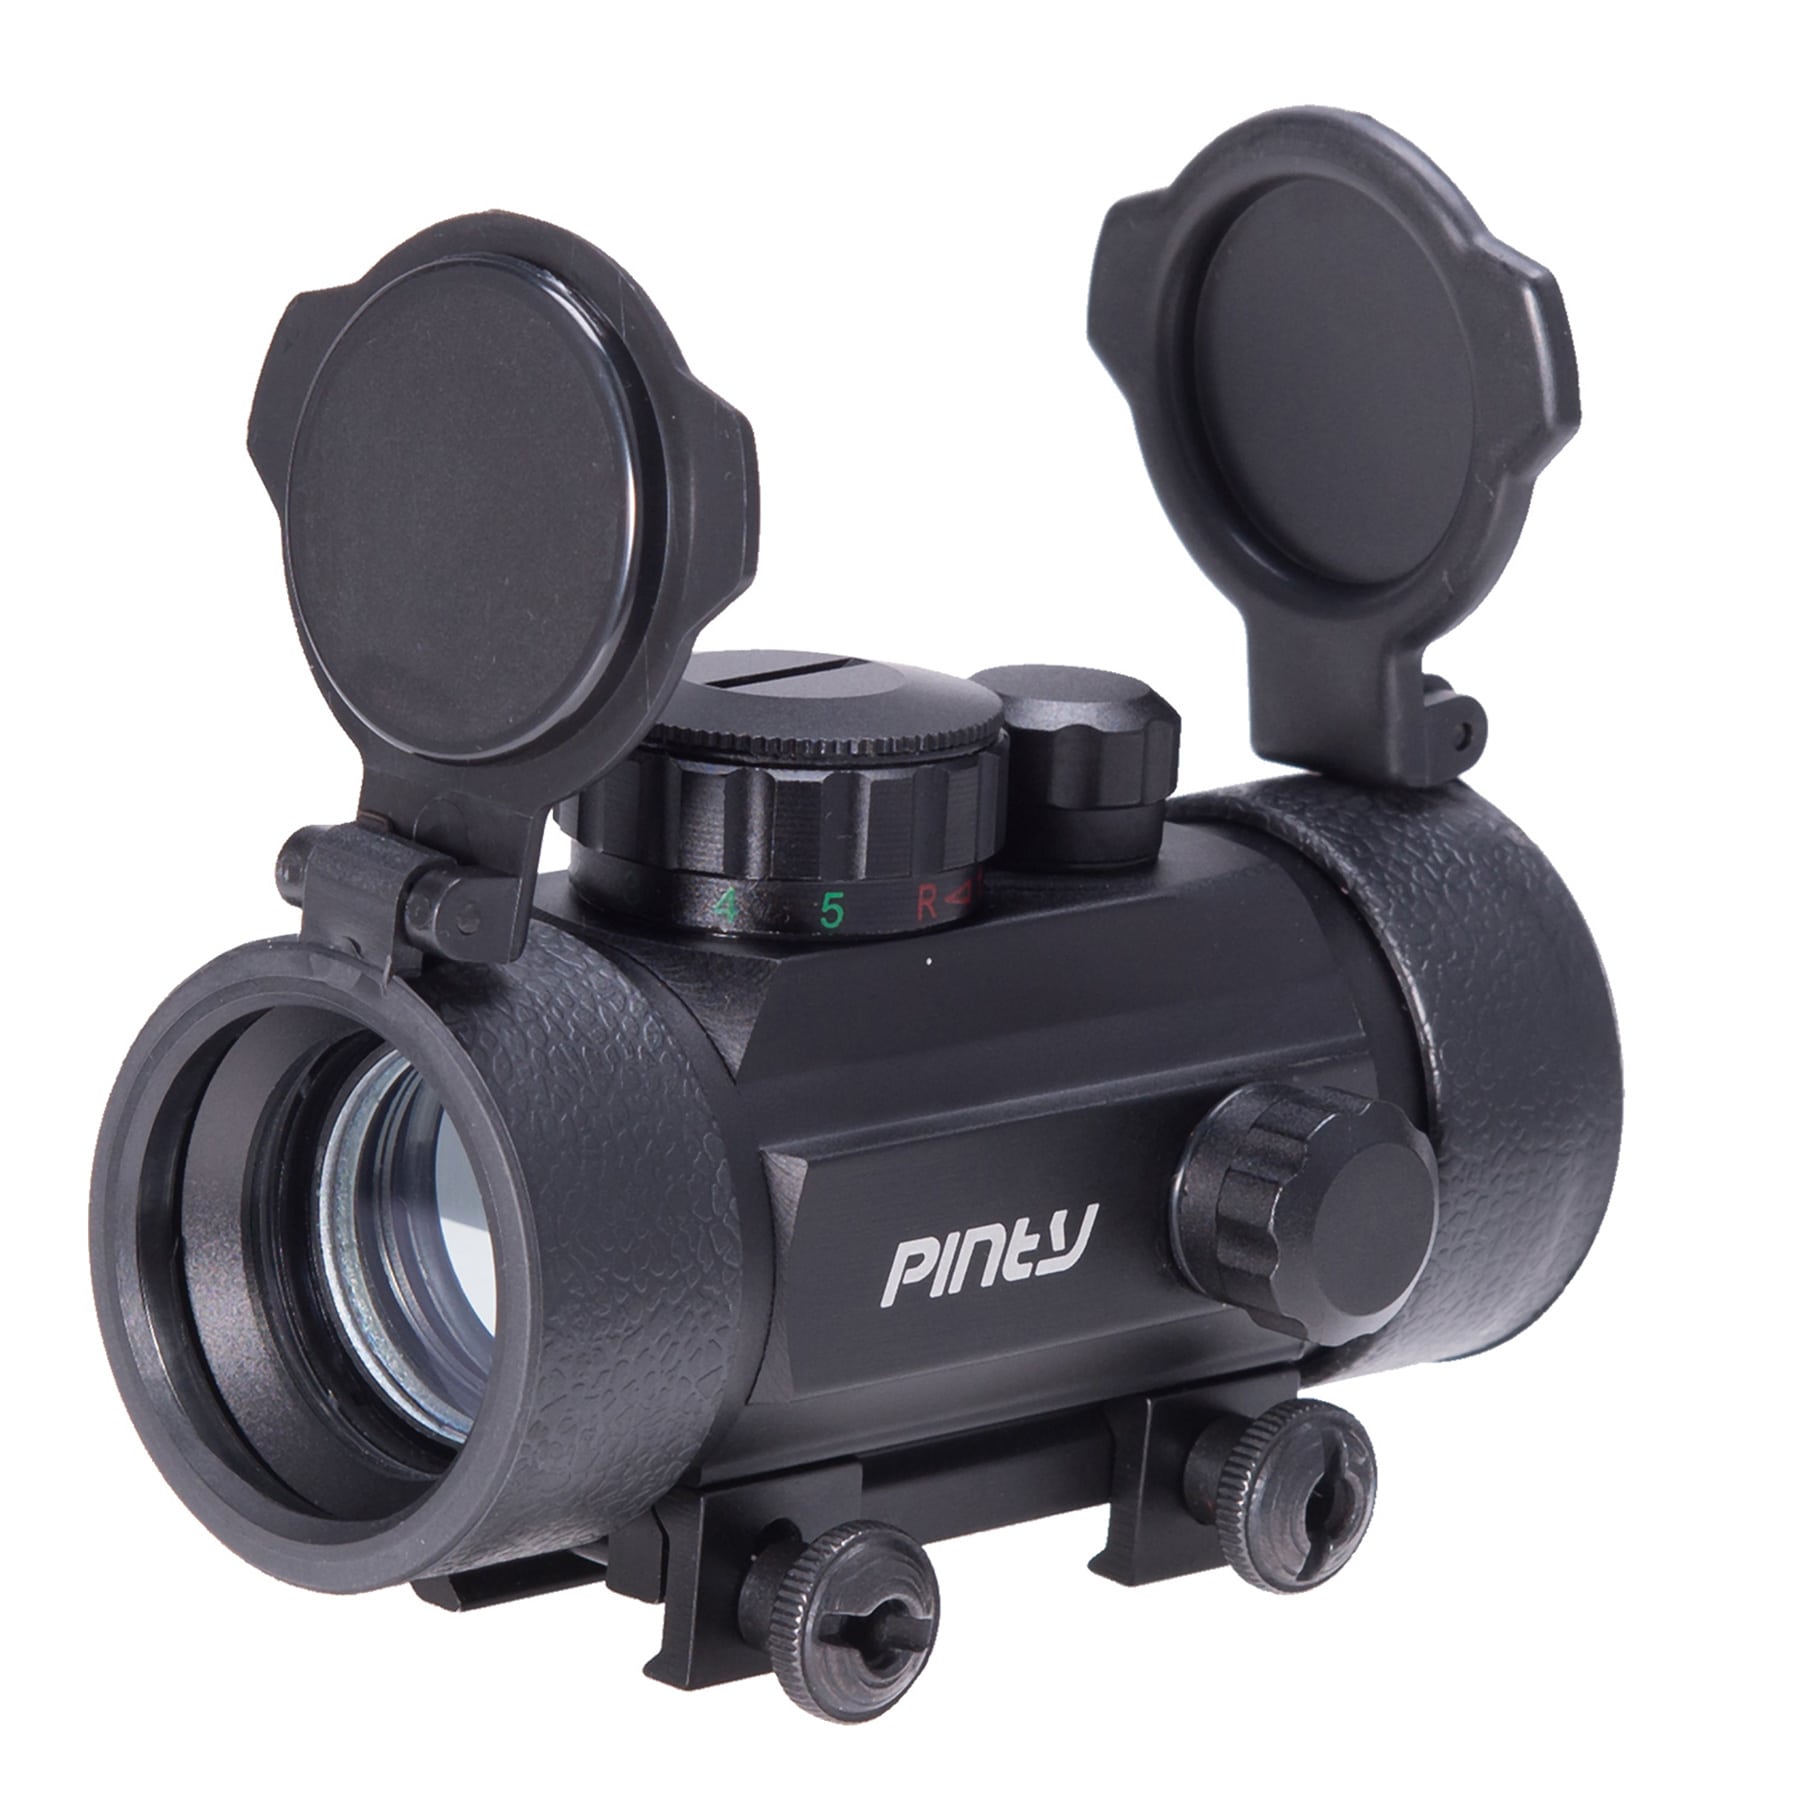
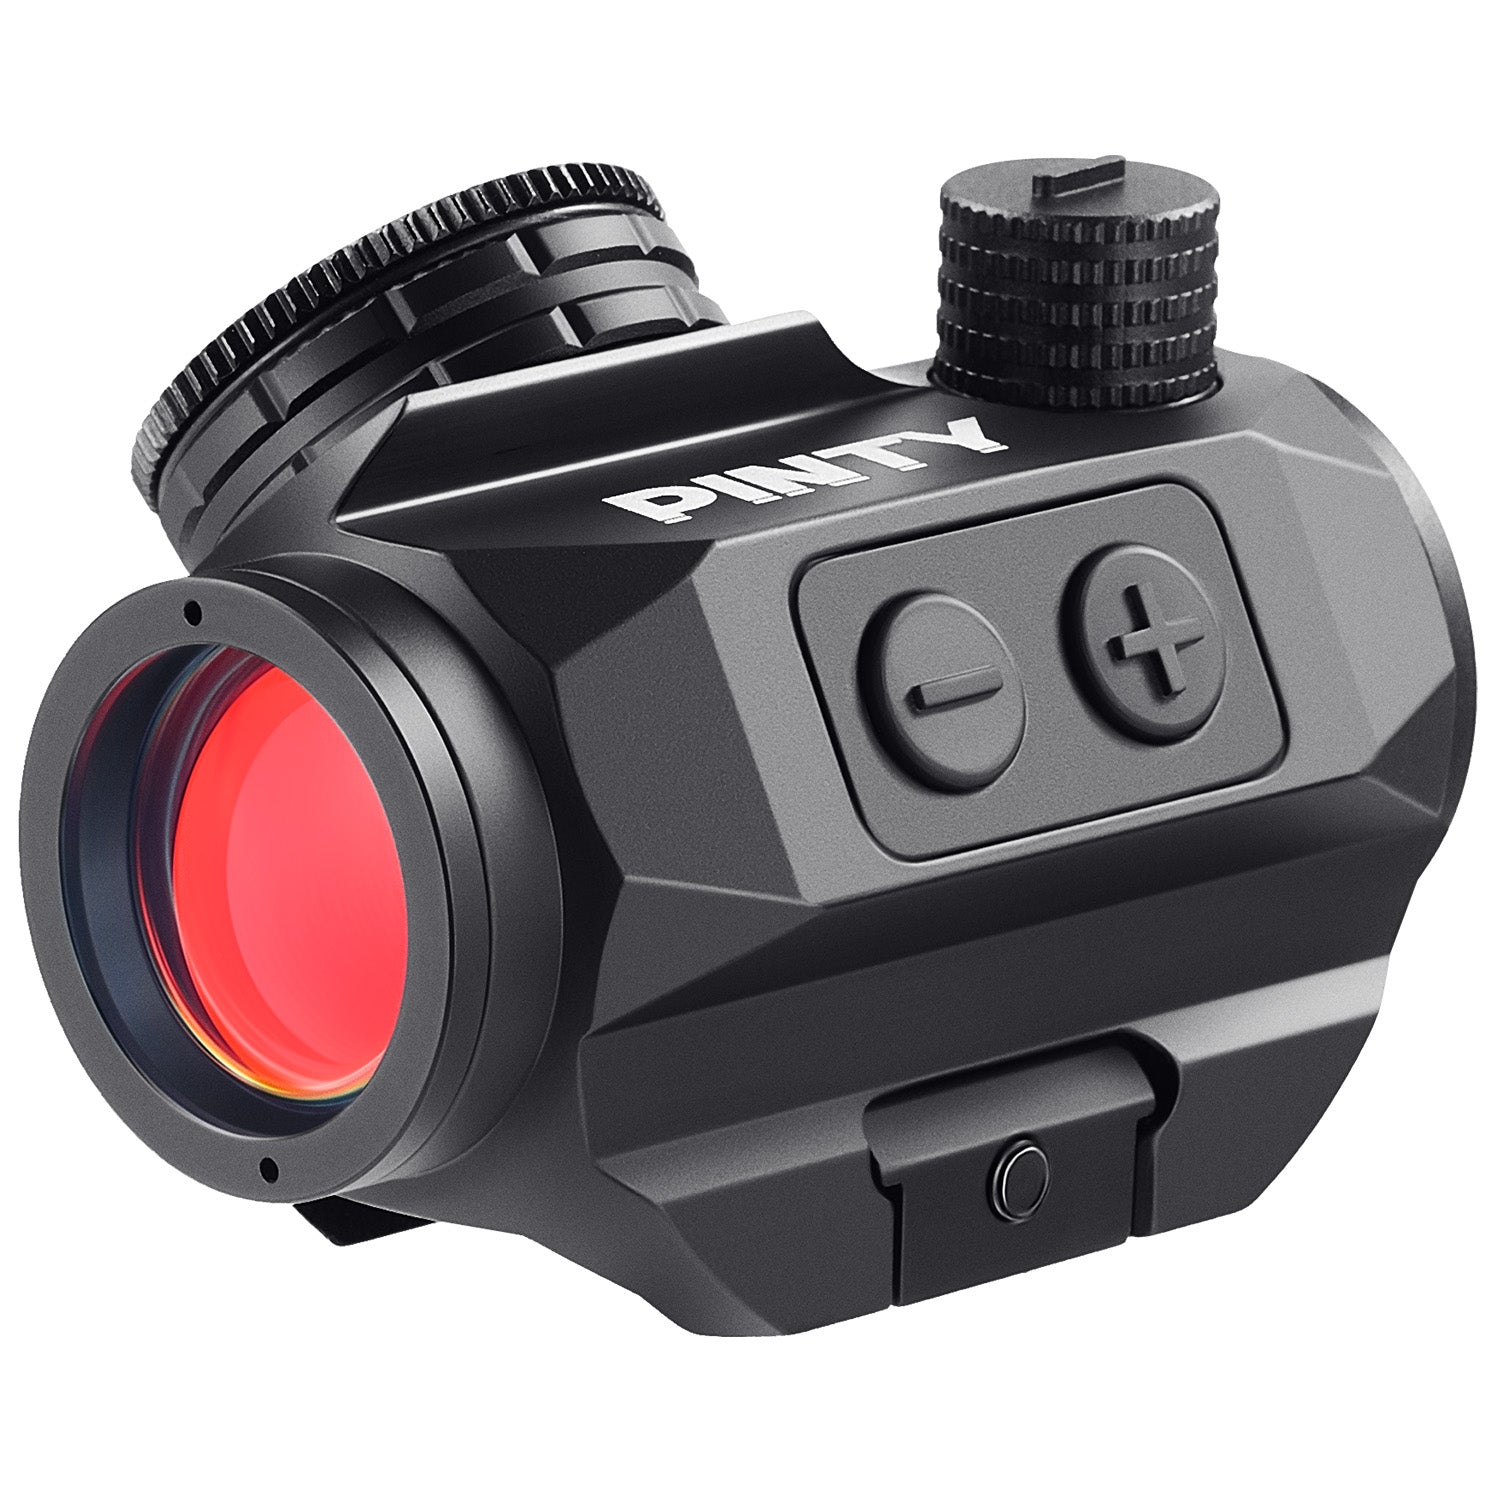
Enclosed or tube-style optics
In contrast, enclosed or tube-style optics seal the emitter within the housing, offering superior protection against environmental elements. This makes them more durable, reliable in harsh weather, and easier to maintain, as dirt or moisture cannot interfere with the emitter. The trade-off is that they are generally heavier, bulkier, and may offer a slightly narrower field of view. Overall, open reflex sights prioritize speed and lightweight design, while enclosed optics excel in durability and all-weather dependability.
Dot Size (MOA)
Dot size, measured in MOA (Minute of Angle), directly affects how precise or fast your aiming will be. One MOA roughly equals 1 inch at 100 yards, so the larger the dot, the more of the target it covers at distance.
Smaller dots (2–3 MOA)
Smaller dots (2–3 MOA) are ideal for precision shooting and longer distances. Because the dot covers less of the target, it allows for more accurate shot placement, especially on rifles or when engaging targets beyond 50–100 yards. This makes smaller dots a strong choice for hunting, target shooting, and AR-style rifles where accuracy is a priority. The trade-off is that smaller dots can be slower to pick up, particularly under stress or in close-range situations.
Larger dots (5–6+ MOA)
Larger dots (5–6+ MOA) are designed for speed. The bigger dot is easier for your eye to locate quickly, making it excellent for close-range shooting and rapid target transitions. This is why larger dots are commonly preferred on pistols, especially for self-defense or competition use where quick sight acquisition matters more than pinpoint precision. However, at longer distances, the larger dot can cover more of the target, slightly reducing accuracy.
Mounting System
When selecting a red dot sight, one critical factor that’s often overlooked is the mounting system—specifically, whether the optic matches your pistol’s slide cut footprint. Modern handguns are often optics-ready, but they are not universal; each slide is machined to fit a specific footprint pattern (such as RMR, Shield RMSc, DeltaPoint Pro, etc.).
If the footprint of your red dot does not match your slide, the optic simply won’t mount directly. In some cases, you can use an adapter plate, but this adds extra height, may affect co-witness with iron sights, and can introduce additional points of failure if not installed properly. A direct mount (matching footprint) is always preferred because it provides a lower profile, better stability, and improved durability.
Budget
When choosing a red dot sight, it’s important to look beyond just the upfront price and consider the total cost and long-term reliability. Your budget should account not only for the optic itself, but also for potential extras like mounting plates, upgraded screws, or backup iron sights (co-witness sights), which can add to the overall setup cost—especially for pistols with specific footprint requirements.
Battery Life
On the performance side, battery life is a critical factor. Many modern optics now offer advanced features like motion-activated systems (“shake awake”), which automatically turn the sight on when movement is detected and shut it off when idle to conserve power. For example, the HOLOSUN HS407K X2 Red Dot Sight includes shake-awake technology, helping extend battery life while ensuring the optic is always ready when needed.
Astigmatism Consideration
If you have astigmatism, a red dot sight may not appear as a clean, round point—instead, it can look blurry, distorted, or like a starburst, which can affect aiming precision. This happens because the eye has difficulty focusing the projected LED dot, especially at higher brightness levels.
To improve clarity, many shooters opt for prism optics with etched reticles, which remain sharp because the reticle is physically engraved rather than projected. Another helpful alternative is switching to green-colored dots, as some eyes perceive green light more clearly than red.
You can also try reducing the brightness setting, which often minimizes the starburst effect. Since vision varies from person to person, testing different optic types and colors is the best way to find the clearest sight picture.
Benefits of Using a Red Dot Sight
A red dot sight offers several performance advantages that make shooting faster, simpler, and more intuitive compared to traditional iron sights.
One of the most significant benefits is faster target acquisition and increased shooting speed. Because the illuminated dot acts as a single aiming reference, shooters no longer need to align front and rear sights, allowing them to engage targets much more quickly—especially in dynamic or high-pressure situations.
Another key advantage is target-focused shooting. With a red dot, the shooter can keep both eyes open and maintain full visual awareness of the environment while staying focused on the target rather than shifting attention back and forth between sights. This improves situational awareness, which is especially important in defensive or tactical scenarios.
Red dot sights also provide improved accuracy by simplifying the aiming process. Instead of aligning three separate points (rear sight, front sight, and target), the shooter only needs to place the dot on the target, reducing alignment errors and speeding up shot placement.
In addition, most red dot optics offer low-light and night-time usability through adjustable brightness settings. The illuminated reticle remains clearly visible in dim or challenging lighting conditions, making it far more effective than traditional iron sights in darkness or transitional lighting environments.
Another major benefit is unlimited eye relief and parallax-free performance. The optic can be mounted in various positions on the firearm, and the dot will still remain accurately placed on the target regardless of eye position. This flexibility allows for more natural head positioning and faster engagement without needing a perfect sight picture.
FAQs
Yes—most beginners can absolutely benefit from using a red dot sight, and in many cases it can make learning to shoot faster and easier. Because a red dot removes the need to align front and rear iron sights, beginners can focus more on trigger control, stance, and target awareness, rather than struggling with sight alignment.
A red dot sight provides a simple, fast aiming reference that helps shooters place shots more quickly and intuitively compared to traditional iron sights. Instead of aligning a front sight, rear sight, and target, the shooter only needs to place the illuminated dot directly on the target, which significantly reduces the time required to aim.
Inside the optic, an LED projects a small red (or sometimes green) dot onto a specially coated lens. This dot appears to “float” on the target image, allowing the shooter to maintain focus on the target rather than shifting attention to the sight itself. This makes shooting more natural and improves situational awareness, especially in fast-moving or defensive scenarios.
A red dot sight also supports both-eyes-open shooting, meaning the shooter can keep full peripheral vision while aiming. This improves awareness of surroundings and helps track moving targets more effectively.
Yes, a red dot sight can still be used effectively with astigmatism, but the way the dot appears may look different depending on the severity of the condition. Many shooters with astigmatism notice that the dot is not perfectly round and may appear blurry, stretched, starburst-shaped, or duplicated, especially at higher brightness settings. This happens because the eye’s cornea or lens does not focus light evenly, rather than a problem with the optic itself.
Despite this, many users are still able to shoot accurately by making a few adjustments. Lowering the brightness level often helps reduce the starburst effect and makes the dot appear more defined. Some shooters also find that changing the dot color (for example, using green instead of red) improves clarity, as different wavelengths can be perceived more sharply depending on the individual’s vision.
Another strong alternative is using a prism optic with an etched reticle, which does not rely on projected light. Because the reticle is physically engraved into the glass, it remains crisp and clear even for users with astigmatism. This is often considered the most reliable solution when traditional red dots are difficult to use.
The effective range of a red dot sight is not fixed by the optic itself, but by the firearm, ammunition, shooter skill, and dot size (MOA). In general, red dot sights are designed primarily for close to medium-range shooting, where speed and target acquisition matter most.
For pistols equipped with red dots, the practical effective range is typically around 10 to 50 yards for most defensive and training scenarios. Skilled shooters can extend this further—sometimes out to 100 yards or more—but accuracy becomes increasingly dependent on experience, stability, and dot precision.
For rifles such as an AR-15 platform, red dot sights are commonly effective out to about 100 to 200 yards for rapid engagement. With training and favorable conditions, some shooters can push accurate hits beyond this range, but red dots are generally not optimized for precision long-distance shooting compared to magnified optics.
A red dot sight works by using a simple but highly effective optical system that projects an illuminated aiming point onto a specially designed lens. Inside the optic, an LED light source generates a small red (or sometimes green) dot. This light is directed onto a coated, angled lens that reflects the dot back toward the shooter while allowing most ambient light and the target image to pass through.
What makes the system useful is that the dot appears to be “floating” on the target. This happens because the optic is designed to be parallax-minimized. In practical terms, this means that as long as the shooter keeps the dot on the target, the point of impact will remain consistent even if the eye is not perfectly centered behind the sight.
Unlike traditional iron sights, which require aligning the rear sight, front sight, and target in a straight line, a red dot simplifies the process to just placing one point (the dot) on the target. This greatly speeds up aiming and reduces visual complexity.
Most red dot sights are also non-magnified (1x optics), meaning they do not zoom in on the target. This allows shooters to keep both eyes open, maintaining full peripheral awareness while still seeing the aiming dot clearly.
Mounting a red dot sight correctly is essential for reliability, accuracy, and maintaining zero under recoil. The exact process depends on whether you are installing it on a pistol or a rifle, but the core principles are the same: secure fit, correct footprint, and proper alignment.
For pistols, the first step is to confirm your slide is optics-ready and matches the red dot’s mounting footprint (such as RMR, RMSc, or DeltaPoint Pro). If the footprints match, the optic can be mounted directly onto the slide using the provided screws, often with a small amount of thread locker (like blue Loctite) to prevent loosening from recoil. If the footprints do not match, an adapter plate is required, though this may raise the optic slightly and affect sight alignment with iron sights. Once installed, the optic should be torqued to the manufacturer’s specification and checked for secure seating.
For rifles, such as the AR-15 rifle, mounting is generally more straightforward. Most red dots attach to a Picatinny rail system, allowing the optic to be positioned forward on the upper receiver for an optimal sight picture. After placing the optic on the rail, the mounting screws or clamp should be tightened evenly to ensure stability. Proper positioning is important to achieve a comfortable eye relief and maintain a clear field of view.
Once mounted, the next step is zeroing the optic, which involves adjusting windage and elevation so the point of aim matches the point of impact at a chosen distance. After zeroing, it’s recommended to recheck all mounting screws to ensure nothing has shifted during initial firing.
Reflex Sight vs Red Dot Sight
In simple terms, a red dot sight is a type of reflex sight, but not all reflex sights are the same.
A reflex sight is the broader category. It refers to any non-magnified optic that uses a reflective lens and an illuminated aiming point (dot, cross, or reticle) projected onto the glass. Reflex sights can come in different designs, including open reflex and tube-style (enclosed) reflex systems, and they may use different reticle shapes beyond just a dot.
A red dot sight, on the other hand, is the most common and simplified version of a reflex sight. It typically projects a single illuminated dot as the aiming point, making it extremely fast and easy to use. Red dot sights are widely used on pistols, rifles, and shotguns because they prioritize speed, simplicity, and ease of use over complex reticles.
Holographic Sight vs Red Dot Sight
A holographic sight and a red dot sight may look similar at first glance, but they use very different technology to create the aiming reticle—and this affects performance, durability, and price.
A red dot sight uses a simple LED that projects a small dot onto a reflective lens. The dot is a direct light reflection, which makes red dots generally lighter, more energy-efficient, and more affordable. They are widely used on pistols and rifles because they offer fast target acquisition, long battery life, and simple operation. However, in some cases—especially for users with astigmatism—the dot may appear slightly distorted or starburst-shaped.
A holographic sight, by contrast, uses a laser-based system to project a hologram of the reticle onto the viewing window. This creates a more complex reticle (often a ring with a central dot) that can appear clearer to some shooters, especially at speed or in dynamic shooting. Holographic sights are also known for performing better when the viewing window is partially obstructed (for example, by dirt or damage), since the reticle can still remain usable.
However, holographic sights also have drawbacks. They typically consume more battery power, are heavier and more expensive, and can be more complex internally compared to red dot sights.
Prism Sight vs Red Dot Sight
A prism sight and a red dot sight are both non-magnified optics commonly used for close to mid-range shooting, but they differ significantly in how they present the aiming reticle and how they perform for different shooters.
A red dot sight uses an LED to project a single illuminated dot onto a reflective lens. It is designed for speed, simplicity, and ease of use, allowing shooters to quickly place the dot on the target and engage without worrying about precise sight alignment. Red dots typically offer unlimited eye relief, both-eyes-open shooting, long battery life, and lightweight construction, making them extremely popular for pistols, AR-style rifles, and defensive use. However, users with astigmatism may sometimes see the dot as blurry or starburst-shaped.
A prism sight, on the other hand, uses a small internal prism and an etched reticle that is physically engraved into the glass. This means the reticle remains sharp and visible even without illumination, which makes prism optics especially useful for shooters with astigmatism. Prism sights often include a fixed low magnification (commonly 1x, 2x, or 3x), providing a slightly more detailed sight picture and improved precision at medium distances compared to a red dot.
Red Dot vs Green Dot
The main difference between a red dot and a green dot sight is simply the color of the illuminated aiming point, but that difference can affect visibility, eye comfort, and performance depending on the shooter and environment.
A red dot sight uses a red LED to project the aiming point onto the lens. Red is the most common option because it is efficient on battery life, widely available, and easy to see in most lighting conditions. Red dots tend to work especially well in low-light environments and are often slightly less expensive due to widespread manufacturing.
A green dot sight, on the other hand, uses a green LED for the reticle. Many shooters find green easier for the human eye to detect because the eye is more sensitive to green wavelengths. This can make the dot appear brighter and more defined in daylight or bright outdoor environments, especially for users who struggle to pick up red dots in strong sunlight.
However, green dots also have trade-offs. They can consume more battery power compared to red dots and are sometimes less common, which may reduce model variety and increase cost. In addition, performance differences are not universal—some shooters prefer red, while others clearly see green more easily.