
If you just purchased your first rifle scope, congratulations, and welcome to the world of enhanced shooting accuracy and performance. One of the most important steps after getting a new scope is proper mounting and sighting it in to your particular rifle. Follow this beginner’s guide to learn the techniques that will help you achieve a flawless scope mount and optimal sight-in for your needs.
(Reading Time: 4-6Minutes)
Selecting the Right Mounts for Your Rifle and Scope

The first step is deciding what type of mounting setup you need for your scope and rifle combination. Here are the key factors to consider:
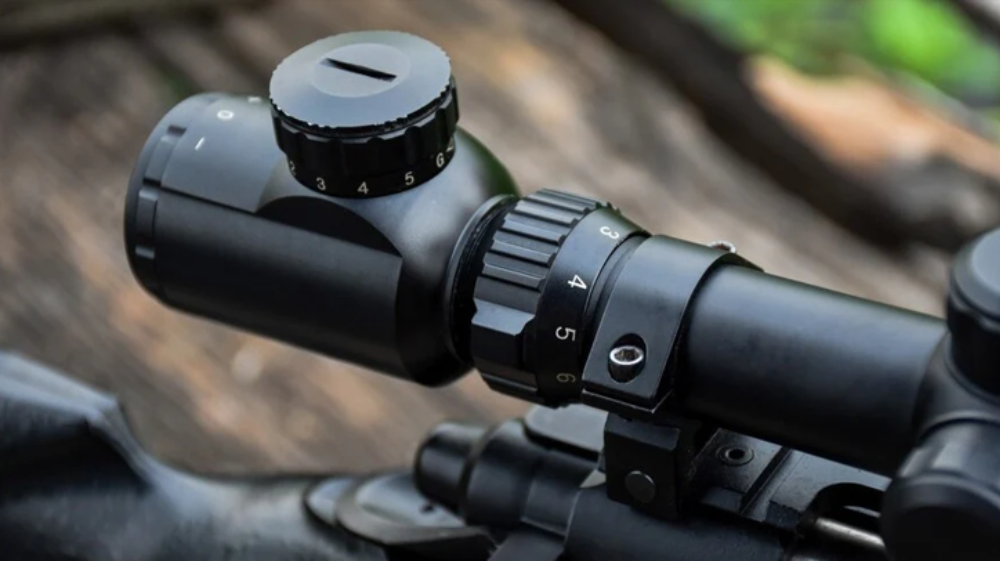
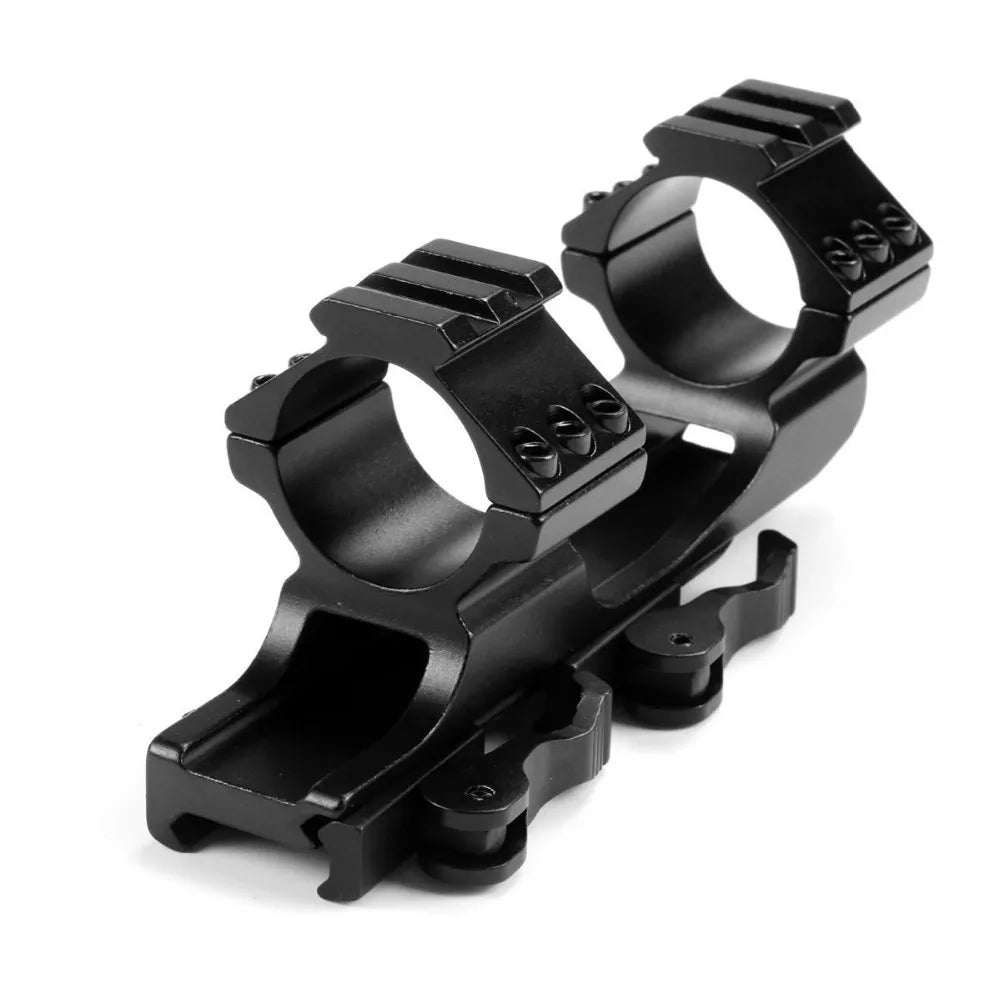
- Scope tube size - Measure the diameter of your scope tube (typically 1-inch or 30mm) and match the ring size. Rings wrap around the tube for a snug fit.
- Scope length - Longer rifle scopes need mounting rings with enough separation to support the full scope. Standard lengths work for most regular scopes.
- Rifle type - Common mounts include scope bases, mount rails, and scope rings. Certain rifles, like ARs, may need special mounts.
- Ring height - Get lower or higher profile rings based on your preferred scope eye relief distance.
- Material - Steel and aluminum are durable options. Aluminum is lighter, while steel withstands heavy-recoil rifles.
Once you select the right mounts, it’s time to attach them to your rifle. Follow all manufacturer instructions for proper installation and torque specs on base screws.
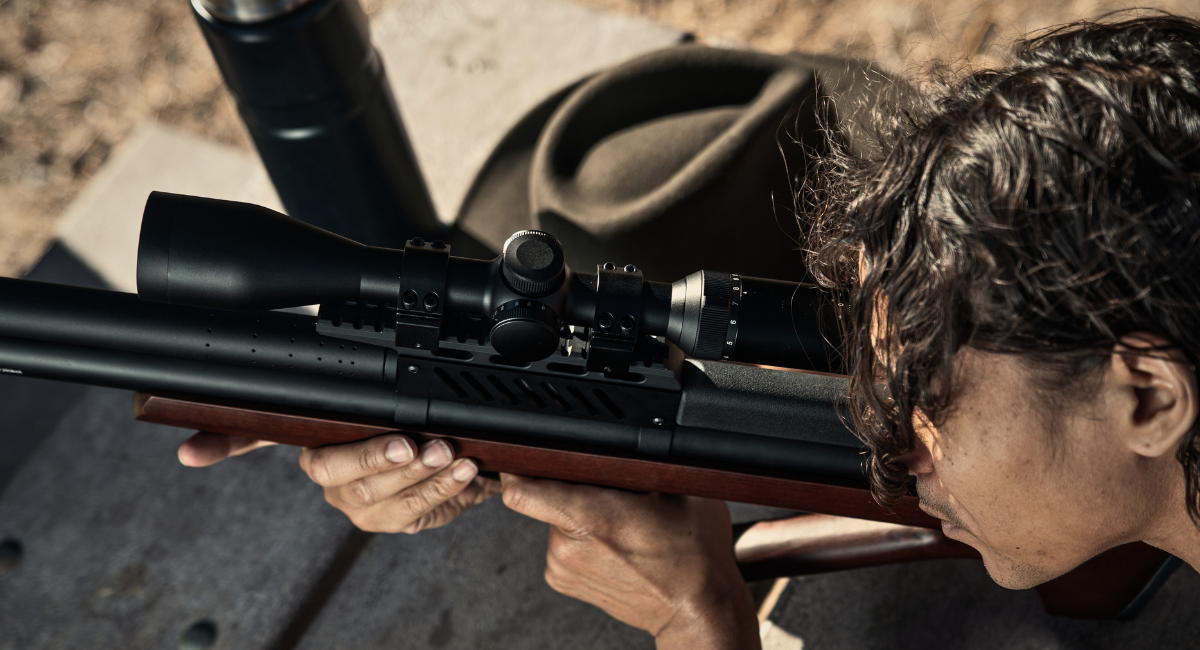
Mounting the Scope in the Rings and Bases

- Place the bottom half of each ring over the mounting base or rail that is secured to your rifle.
- Position your rifle scope inside the bottom ring halves so it sits comfortably without touching the barrel or any part of the rifle.
- Wrap the top half of each ring around the tube of the scope. Insert the ring screws through the aligned holes but don’t tighten all the way yet.
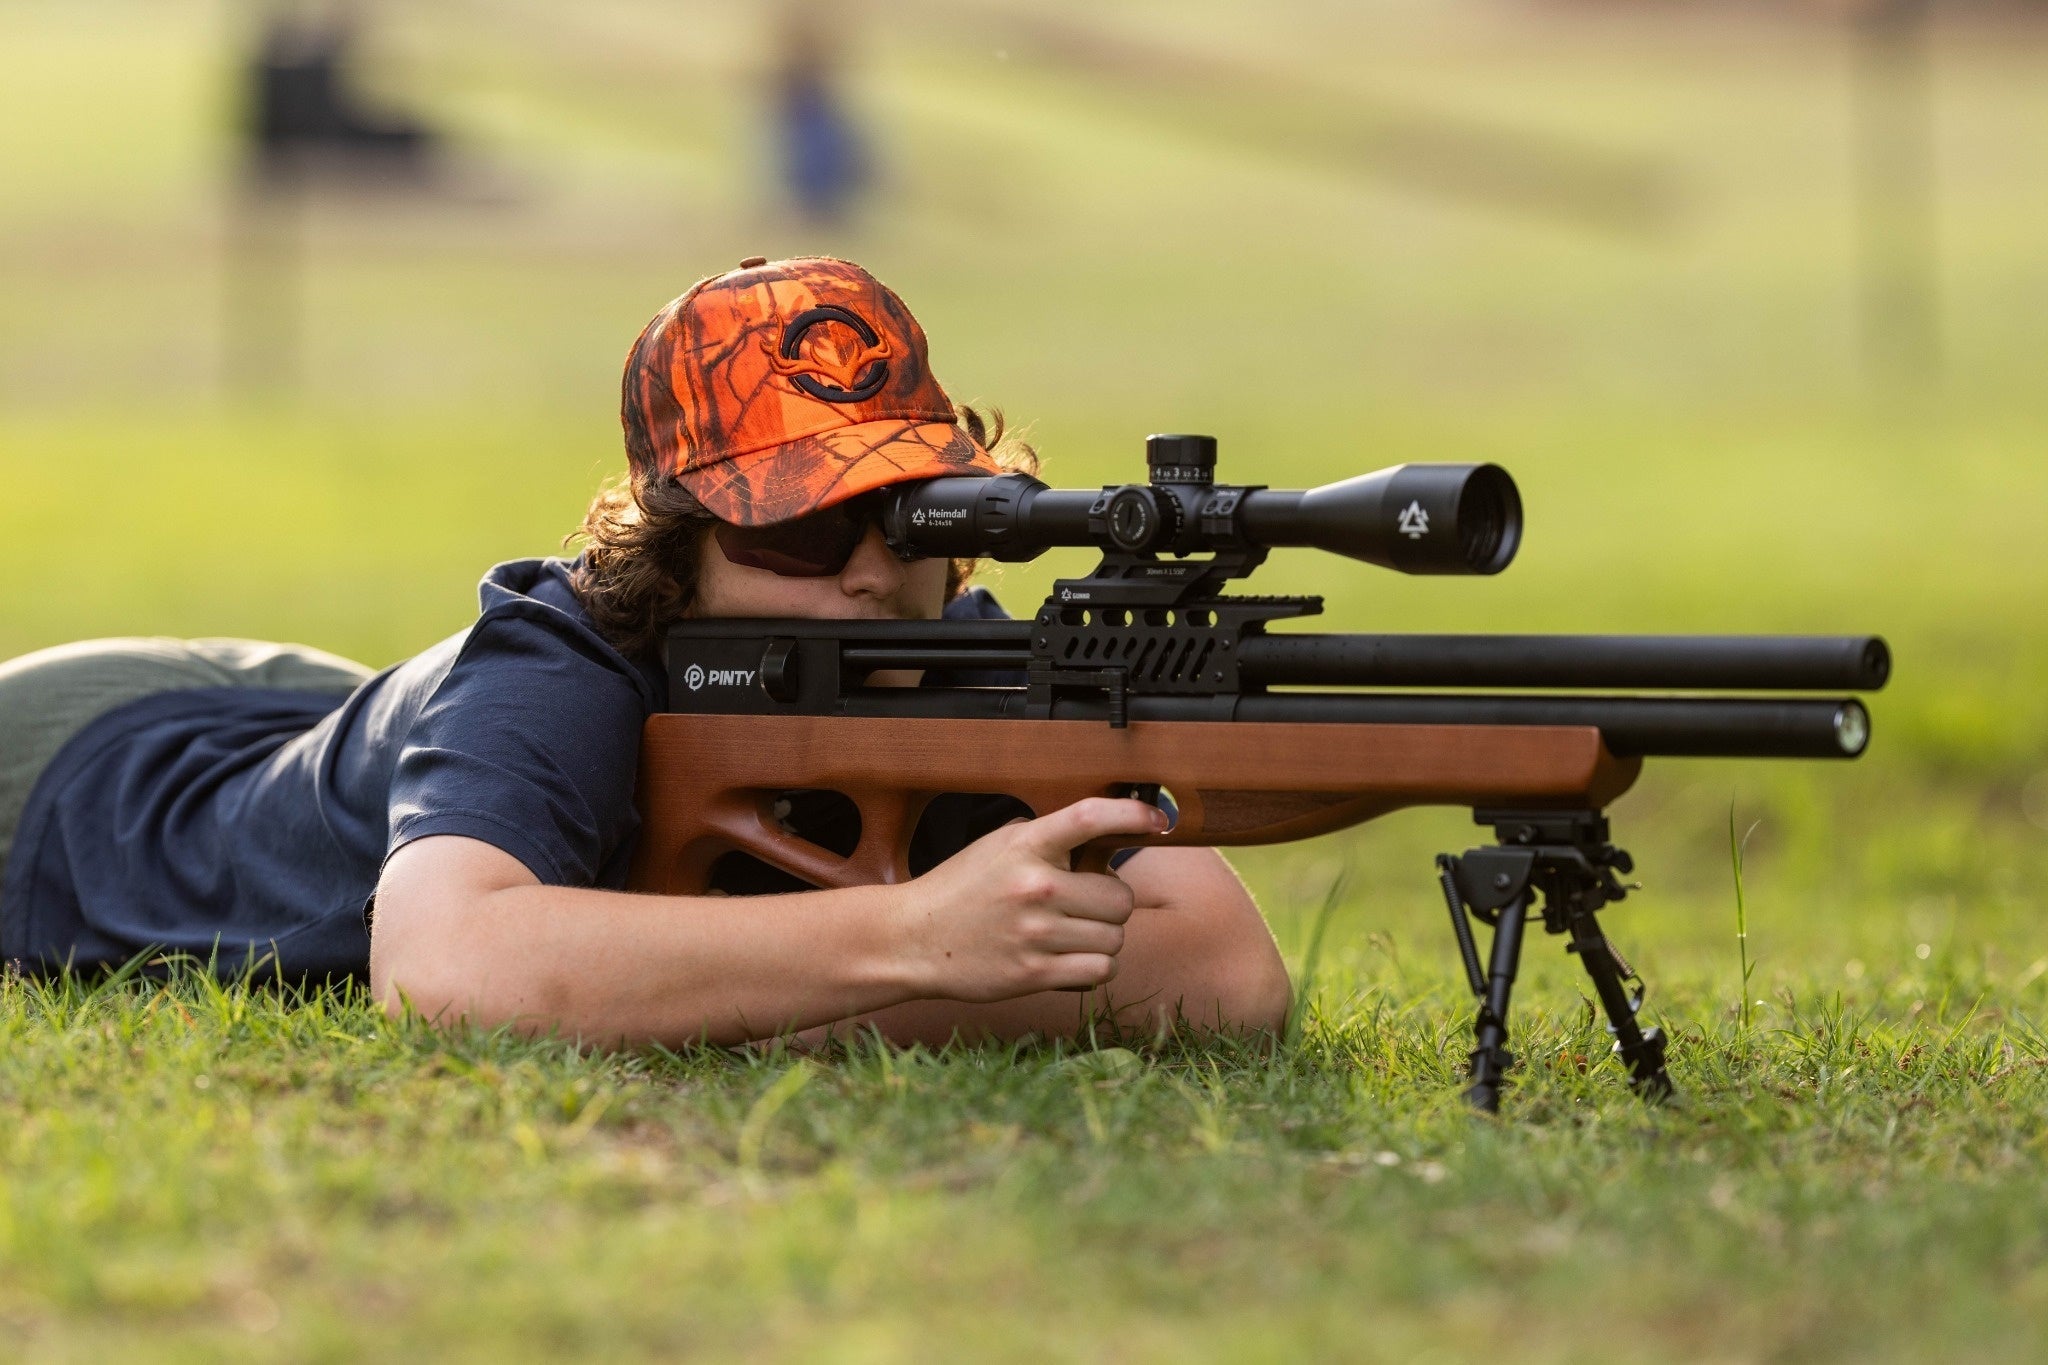
- Slide the scope back and forth while looking through it from a shooting position. Find the eye relief that feels right for you.
- Once you find the ideal eye relief distance, tighten down the ring screws a little at a time by gently turning each one back and forth to evenly distribute pressure. Follow torque specs.
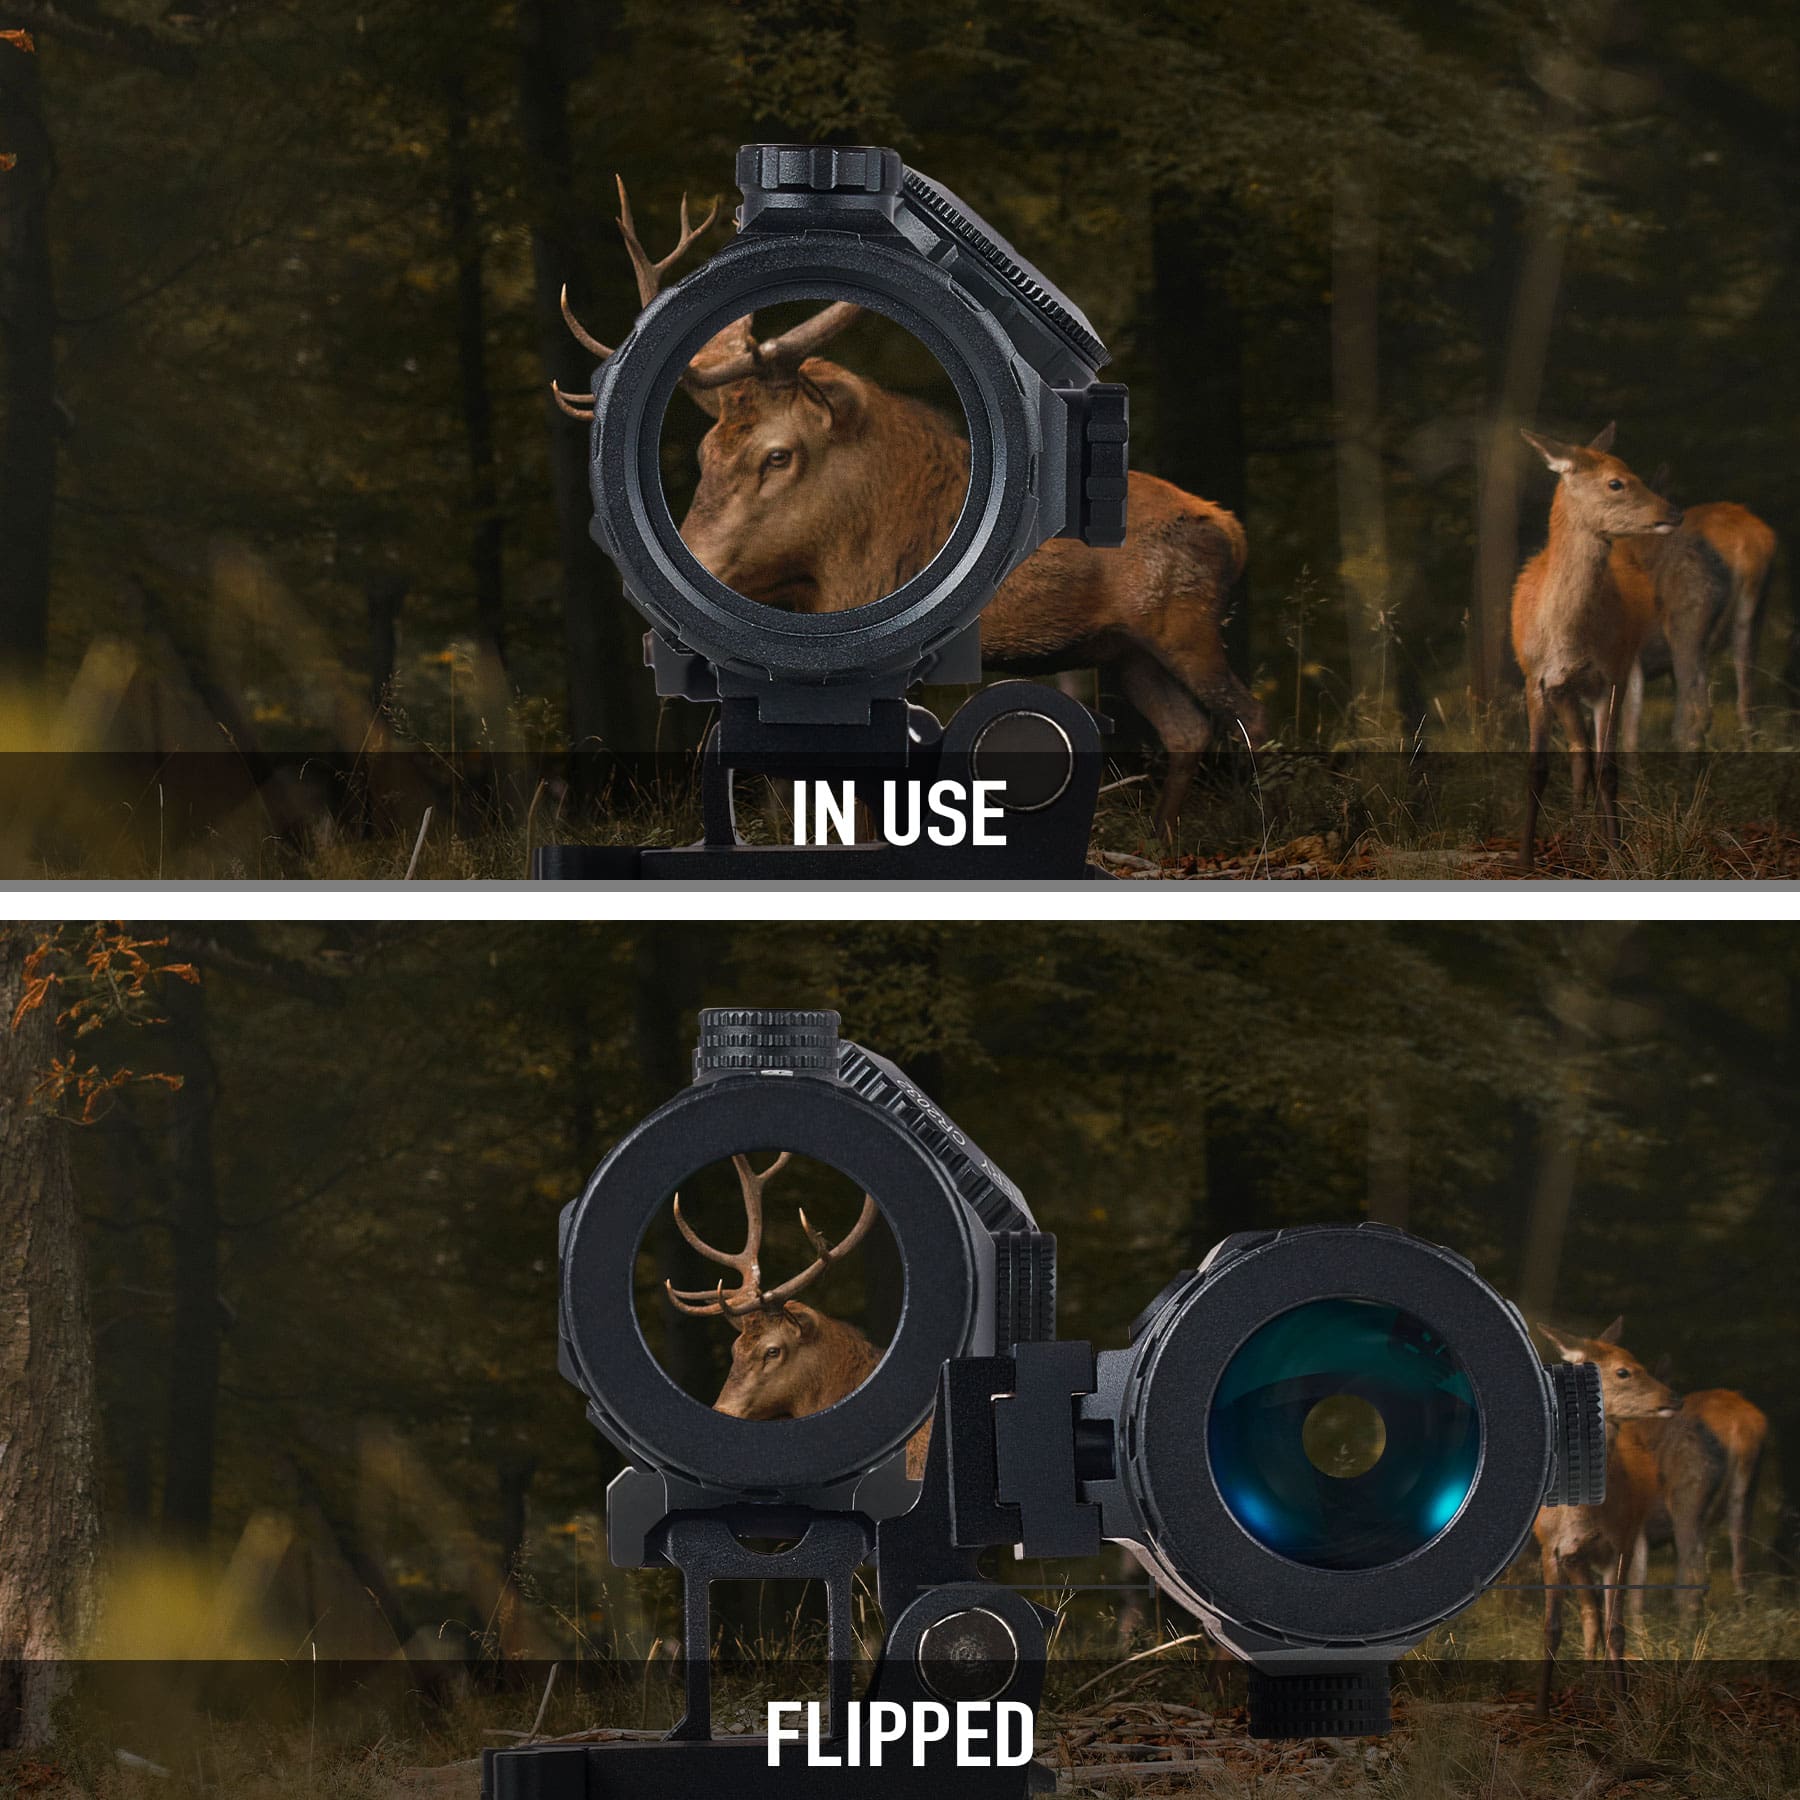
- Check that the crosshairs look level in the scope and align properly with the rifle barrel when viewed from the shooting position. Make small adjustments as needed.
How to Sight In a New Rifle Scope for Optimal Accuracy

Mounting the scope is only half the battle. The next critical step is properly sighting it in to accurately hit targets. Here is a beginner’s process for sighting in a new scope:
Set Up Your Targets
- Place a large paper target at 25 yards to start. This range is ideal for initially adjusting the scope's windage and elevation.
- Once dialed in at 25 yards, move the target out to 100 yards. This is a standard range for finalizing your zero and precision.
Adjusting Windage and Elevation
- With the target at 25 yards, peer through the scope and fire a 3-shot grouping at the bullseye.
- Note the pattern of the grouping on the target and how it relates to the center point.
- Use the windage and elevation turrets to adjust the crosshairs and move your point of impact. Fire another 3 shots and observe.
- Make incremental adjustments until you achieve a tight grouping dead center on the target.
Finalizing at 100 Yards
- With a centered 25-yard zero, move the target out to 100 yards. Fire a 3-shot group.
- Make the necessary windage and elevation adjustments in the scope again based on the shot pattern.
- Continue firing 3-shot groupings and tweaking as needed until you have a perfect zero at 100 yards.
- Confirm zero by firing another 3 tight rounds in the bullseye. Your scope is now accurately sighted for your rifle.
Use Bore Sighting to Get on Paper Faster

Troubleshooting Common Scope Mounting and Sighting Issues
Here are some quick tips for resolving problems you may encounter:
- If scope is loose or loses zero, ensure the rings are tightened properly per torque specs.
- For the shifting point of impact, confirm that mounts and rings are secured without any gaps or movement.
- If you can't achieve a tight shot grouping, the issue may be elsewhere, like your shooting form or ammo quality.
- For scopes that won't hold zero, verify proper eye relief distance and no contact with barrel.


Share:
How to Bore Sight an AR-15 With a Laser: A Step-by-Step Guide
Why Pinty Rifle Scopes Are The Ultimate Choice For Beginners