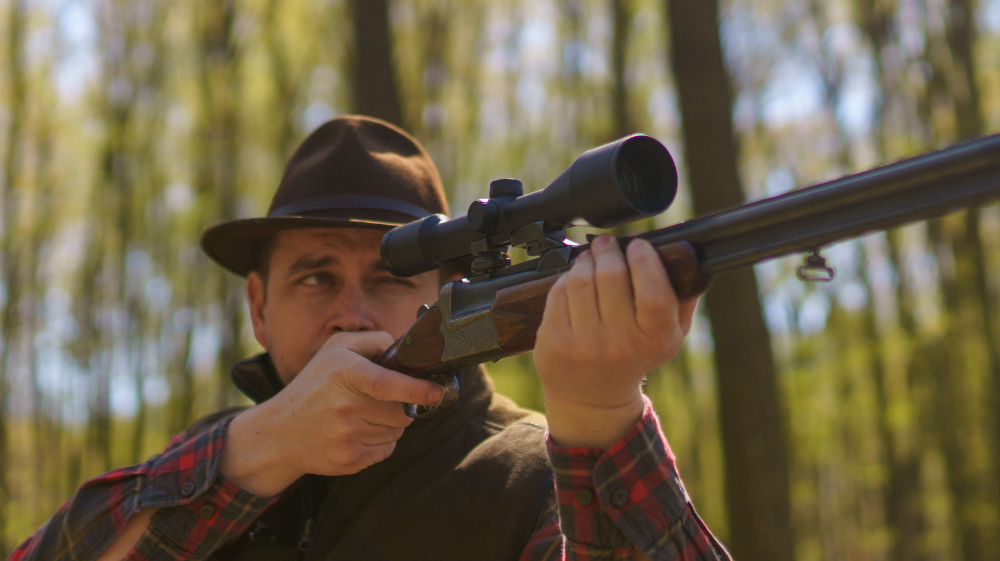
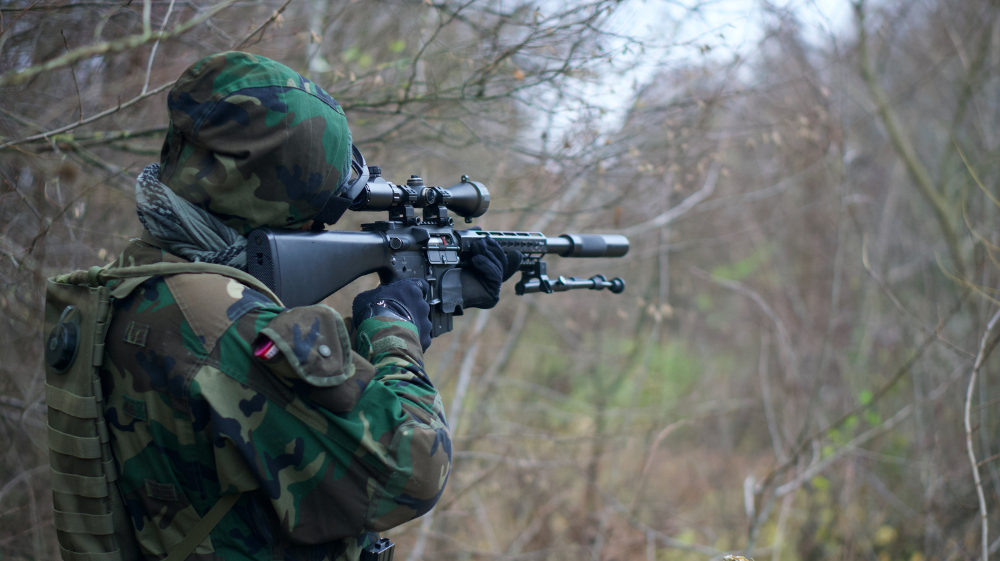
Mounting a quality scope takes your rifle's capabilities to the next level. But without proper sight-in, even the finest optics will fail to improve accuracy. Sighting in aligns the reticle with your firearm's point of impact so every shot lands precisely where intended.
This guide provides step-by-step instructions to zero a scope professionally. You’ll learn techniques from gear selection to firing methodical groups while adjusting turrets incrementally based on point of impact.
Follow these field-proven tips to achieve incredible precision. Soon you’ll be stacking rounds in the same hole at extended ranges. Your rifle’s true accuracy potential awaits - it’s time to unlock it.
(Reading Time: 4-6 Minutes)
Gear Needed for Optimal Sight-In Sessions

Before starting the sight-in process, assemble some essential gear:
- Solid shooting rest - Quality front and rear rifle bags or a benchrest ensure your firearm won't shift during firing.
- Paper targets - Multiple pages allow monitoring shot grouping and point of impact.
- Spotting scope - Reading wind flags and seeing bullet holes requires magnification.
- Rangefinder - Verify exact distance to targets. Even 10 yard estimate errors ruin accuracy.
- Shooting mat - Kneel or lay in a steady position you can hold for extended periods.
- Ballistic data - Printed or ballistic app data tuned for your rifle and ammunition specs.
- Bore sighter - Laser bore sighters pre-align scopes to accelerate the process.
- Levels - Bubble levels verify your rifle and scope sit perfectly vertical on all planes.
Precision equipment brings consistency to sighting in for smooth, frustration-free sessions.
Understanding Key Ballistic Factors
Familiarize yourself with the variables influencing bullet trajectories:
- MOA vs MIL - Know whether your scope uses MOA or MIL for windage and elevation adjustments.
- Bullet arcs - Bullets arc down influenced by gravity. Master your loads' trajectories.
- Parallax - Set parallax for your zero distance so reticle focus matches target focus.
- Target distance - Precisely measured distances are absolutely crucial for adjustments.
Grasping these elements allows accurately translating your scope adjustments into real-world results during live firing.
Pre-aligning With a Bore Sighter
A bore sighter uses a laser inserted into the muzzle to roughly center the crosshairs on paper downrange before firing rounds.
Though not required, bore sighting can accelerate the process considerably. Rather than slowly edging onto the target, you can skip straight to fine tuning at distance.
Always confirm true zero by shooting groups. Lasers account for barrel alignment but not real-world external ballistics.
Setting Up Paper Targets at Precise Intervals

- Position paper targets at exact 25-50 yard intervals depending on distance. Many final zero at 100 yards.
- Use sturdy holders secured in the ground. Eliminate any target movement.
- Ensure your target is visibly centered through the scope without canting or obstructions.
- Use a spotting scope to read wind flags downrange. Mirage obscures visibility.
Measuring and rechecking distances is vital for optimal adjusting and avoiding accidental bad data. Consistency drives accuracy.
Firing Careful 3-5 Shot Groups
- Fire disciplined 3-5 shot groups aiming identically at the bullseye.
- Avoid touching turrets and use markers to record group placement on paper.
- Shoot several consistent groups confirming similar point of impact before adjusting.
- Only adjust turrets between full test groups, never based on isolated shots.
Methodical sequences reveal true accuracy trends for reliable adjustments. Individual shots deceive.
Meticulously Adjusting Elevation and Windage

Making subtle calculated adjustments is an art:
- Note group placement relative to the bullseye. Elevation moves point of impact up/down, windage left/right.
- Adjust only 1/4 MOA at a time, no more than 1 MOA total between groups. Avoid overcorrecting.
- Fire another group - did point of impact shift as expected towards center? Repeat if needed.
- Be patient - Sighting in requires numerous minor tweaks. Avoid large rushed changes.
Learn your optic's adjustments intricacies gradually at controlled distances. Slow, smooth changes tighten groups.
Confirming Zero Stop at 100 Yards
Once centered at 50 yards, it’s time to confirm zero stop at standard 100 yard distances:
- Move the target to 100 yards - suitable for most centerfire rifles.
- Fire additional 3-5 shot groups making small final clicks as needed.
- When point of impact holds dead center on the bullseye, the scope is precisely sighted in.
- Avoid disturbing the turrets after verifying zero stop. Disrupting zero means starting over.
Do not solely rely on short range groups. Confirm zero at the typical distances you plan to shoot.
Maintaining Sight-In When Conditions Change

To retain consistent sighted-in accuracy:
- Reconfirm zero if you change ammunition loads or brands.
- Reverify zero if detaching the scope - ensure precise reinstallation to avoid shift.
- Note impact changes if adjusting focus sidewheels significantly.
- Consider taping turrets once zeroed to avoid inadvertent contact.
With careful adjustments and consistent practice, your groups will tighten quickly. Master these techniques to get the most from your high-end optics and precision rifle together. Soon you’ll be drilling distant targets shot after shot.


